Starter-kit checklist
Buy for the next ten jobs
01Plan
- Write the next ten repair and installation jobs
- Separate repeat jobs from one-time jobs
- Identify tools that can be rented or borrowed
02Build the core
- Tape, levels, square, and marking tools
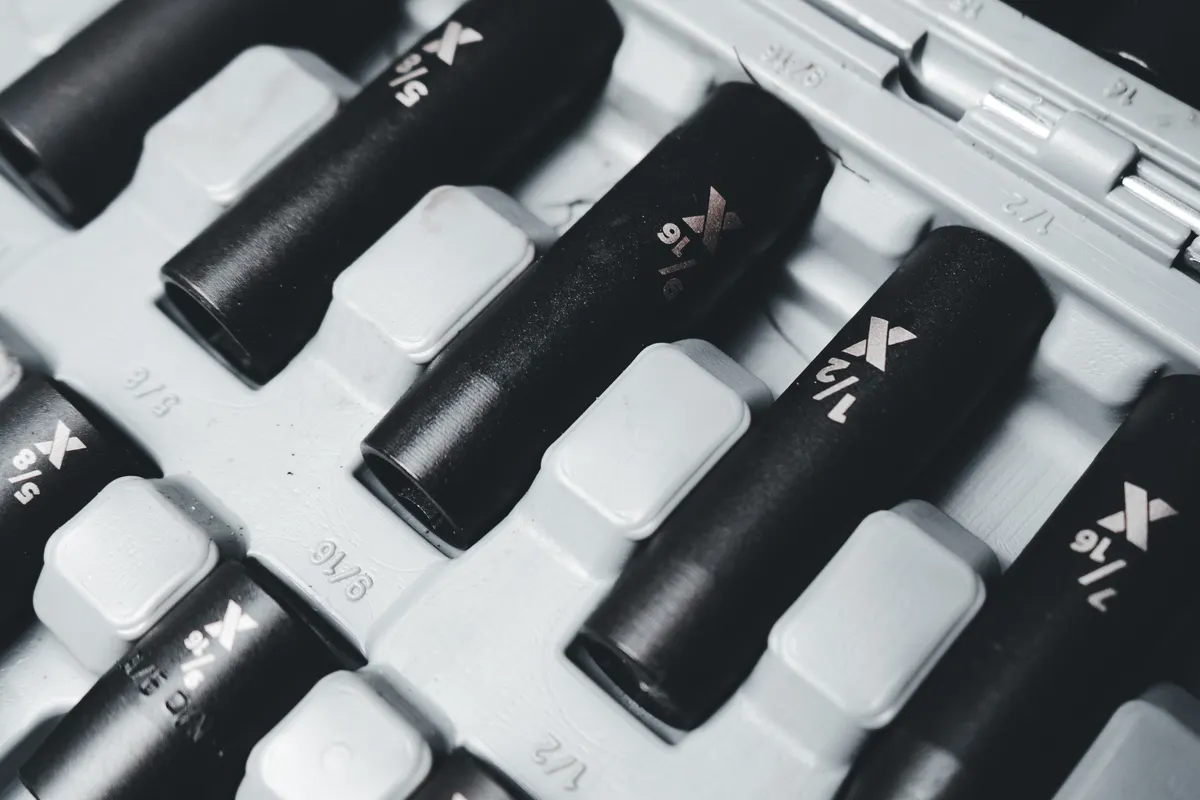
- Drivers, pliers, hammer, utility knife, and small socket set
- Compact drill/driver, bits, clamps, and a stable work surface
- Eye, hearing, hand, and task-appropriate respiratory protection
03Review
- Keep the core kit together near the house entry
- Label bits, blades, anchors, and other consumables
- Record what was missing after each job before buying again
Field note: Match every tool and item of protective equipment to its material, operation, and manufacturer instructions.
List the next ten jobs
Write down the repairs and installations likely in the next six months: assembling furniture, hanging shelves, adjusting doors, mounting blinds, replacing filters, maintaining a mower, or installing garage storage. The list prevents an attractive tool bundle from deciding what you own.
Separate repeat jobs from one-time jobs. Frequently used basics should be easy to access and dependable. Large specialty tools may be better rented until your project pattern proves otherwise.
Build the measuring and hand-tool core
A reliable tape, compact level, combination square, pencil or marker, utility knife, multi-bit screwdriver, adjustable wrench, pliers, hammer, and small socket set cover a large share of first-home tasks. Choose tools that feel controlled in your hand rather than oversized versions marketed as more professional.
- 25-foot tape with a readable blade and dependable lock
- 9-inch torpedo level plus a 24-inch level when shelf work begins
- Multi-bit driver and separate #2 Phillips driver for repeated use
- Slip-joint and tongue-and-groove pliers
- Claw hammer, utility knife, and a small pry bar
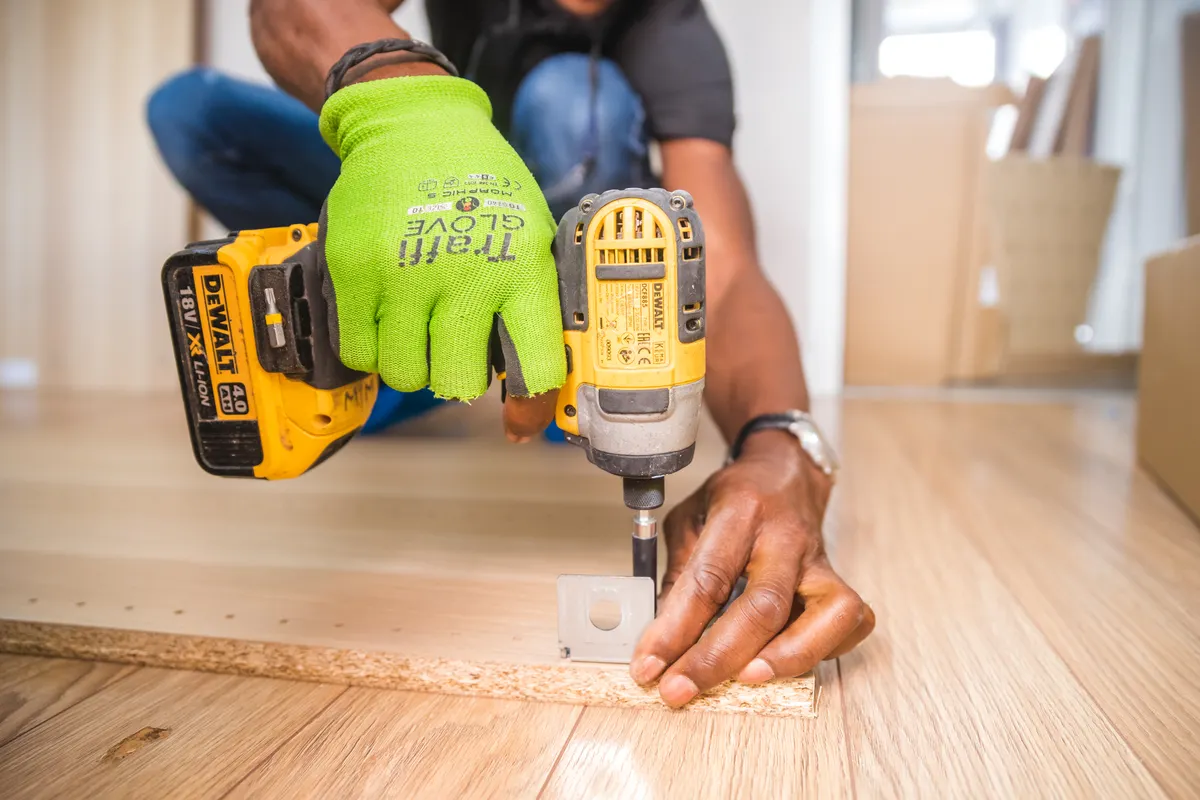
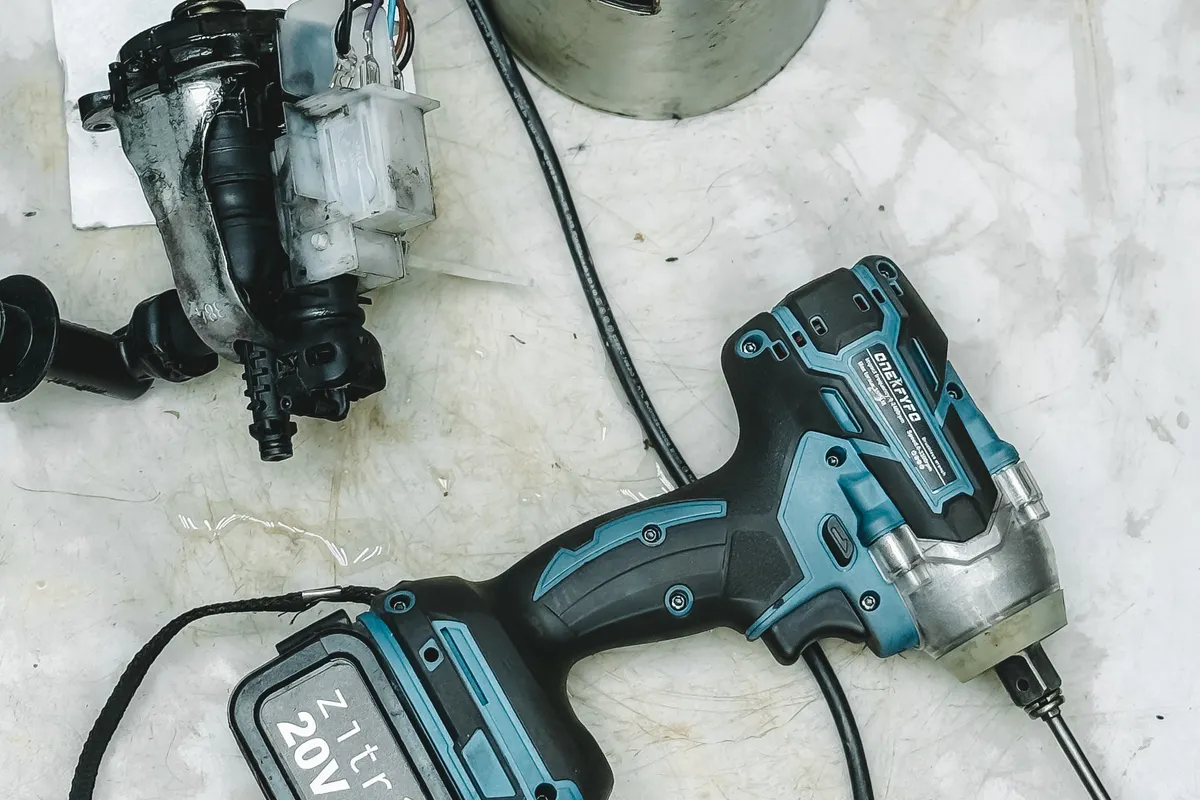
Make the drill/driver the first cordless platform
A compact drill/driver handles pilot holes, common fasteners, and light drilling. Choose a battery platform only after checking tool size, replacement-battery availability, and the future tools you may realistically add.
One or two batteries are enough for a starter kit. Store and charge them according to the manufacturer’s instructions, away from impacts, moisture, and temperature extremes.
Safety gear belongs in the first purchase
Eye protection, hearing protection, suitable work gloves, and task-appropriate respiratory protection are not accessories to add after the tool collection grows. Match protective equipment to the material and operation, and read both tool and product instructions.
Add a stable work surface, good lighting, and clamps before buying more cutting tools. Control and visibility often improve the result more than a more powerful machine.
Use a three-gate test before every upgrade
Buy a new tool only when it passes three gates: a defined job needs it, the expected repeat use makes ownership more practical than borrowing or renting, and you already have the space and safety equipment to use and store it correctly. This keeps the kit compact while leaving room for tools that solve proven problems.
Before first use, read the owner's manual, inspect the tool and accessory, and match eye, hearing, hand, or respiratory protection to the actual hazard. A kit is not job-ready merely because the tool and battery are in the box.
- Job gate: name the task and the material before choosing the tool
- Frequency gate: compare buying with borrowing or renting
- Readiness gate: confirm the work surface, lighting, PPE, consumables, and storage
Store for use, not display
Keep the core kit in one portable box or shallow drawer near the house entry. Put consumables—bits, blades, anchors, tape, and pencils—in labeled organizers so the tool is ready when the job starts.
After each project, record what was missing and what never left the box. That evidence should guide the second round of purchases.
Primary references
These sources support safety, disposal, or specification details used in this guide.