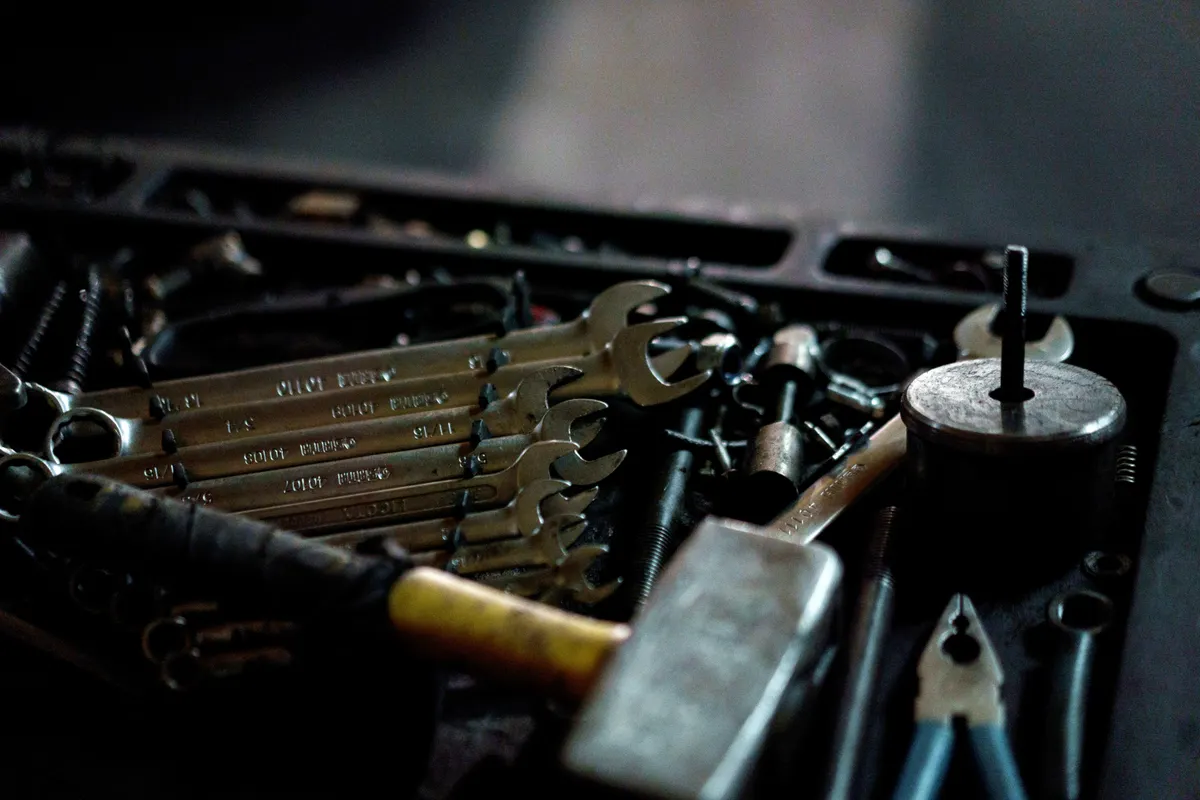
Original storage decision matrix
Choose the storage system you will actually inspect
| Storage choice | Useful for | What to check | What it cannot replace |
|---|---|---|---|
| Open wall rack | Frequently used tools you want to see | Tool condition and the surrounding location | Room moisture control or tool care |
| Drawer or tool chest | A grouped kit with easy retrieval | Drawer bottom, liner, and each returned tool | Drying tools before putting them away |
| Enclosed box with monitored desiccant | A small collection with a maintained enclosure | Indicator, seal, and the product's servicing directions | Fixing a leak or knowing the tool's care limits |
| Move the kit to a dry location | Recurring dampness at the original spot | Access, household safety, and the new conditions | Inspecting existing damage |
Field note: Editorial planning comparison, not a product test or a universal humidity specification. Follow tool and desiccant instructions; museum conservation targets are not household tool standards.
Inspect the storage spot before shopping
If you have just moved into a house, start with a small hand-tool kit rather than filling every garage wall. Look inside the proposed drawer or box and underneath its liner. Check the wall behind it and the floor nearby after rain or after a wet car comes home. A clean-looking cabinet does not tell you whether that particular location stays dry.
Klein Tools recommends cleaning tools and their bags or boxes and choosing a dry storage environment. Use that as the starting point, not a promise that a particular container prevents every rust problem. Move tools away from visible water intrusion and address the source before adding more storage in the same spot.
This guide covers ordinary, non-powered hand tools such as sockets, wrenches, and pliers. It is a prevention and inspection workflow, not a restoration procedure, a humidity specification for every tool, or advice for energized electrical work. Antique tools, precision instruments, insulated tools, and mixed-material handles can need different care.
Give tools a return routine, not just a parking place
Set aside a small return tray where used tools wait for inspection. Do not put a tool straight into long-term storage simply because the job is finished. Read its care instructions, remove the job's debris using a compatible method, and check the handle, jaws, moving parts, and markings. Keep dirty or damp tools out of the clean storage group.
Before returning a tool, check that the tool, tray, and storage liner are dry. A damp pouch should not become the place where tools wait for the next project. If a liner hides the bottom of a drawer, lift it during inspection rather than assuming the visible top tells the whole story. These are practical checks you can perform without buying a larger cabinet.
Keep the process short enough to repeat: inspect, clean as directed, dry, and return. If you regularly skip it because storage takes too many steps, reduce the kit or move the inspection tray closer to the work area. Keep the tray out of walking routes and away from children; it is not a permanent pile of unfinished maintenance.
Choose open or enclosed storage for the way you use tools
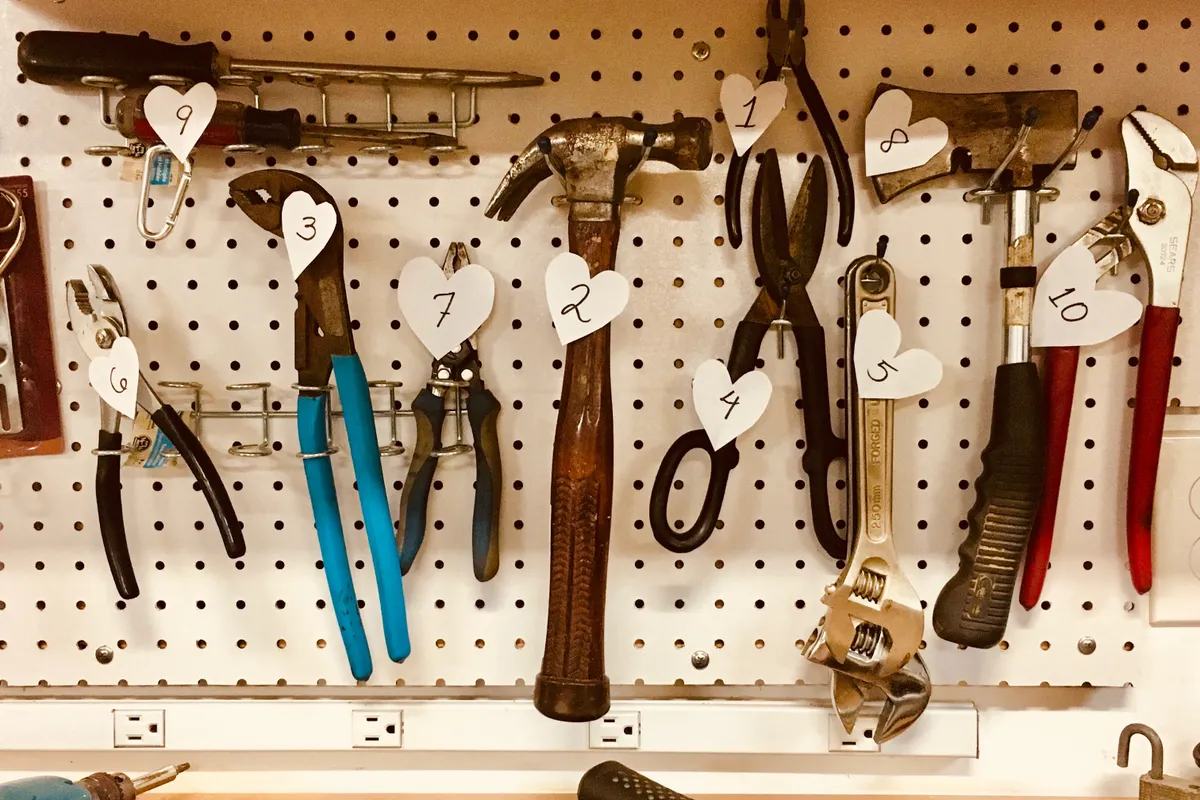
An open wall display makes missing tools obvious and puts frequently used items within reach. It is not a humidity-controlled enclosure. A drawer or lidded box makes it easier to keep a small collection together and inspect it as a group, but a shut lid is not evidence of a dry interior.
Use the comparison above to decide what you will maintain. For example, a homeowner who uses six tools each weekend might prefer a visible rack plus a return tray. Someone who leaves a spare socket set unused for months may prefer an inspectable box in a reliably dry location. Neither example is a tested performance claim or a recommendation to leave sensitive tools in a damp garage.
The Canadian Conservation Institute explains that moisture and surface contamination contribute to metal corrosion, and that closed storage also needs attention to its materials and interior conditions. Its museum guidance informs this approach; museum humidity targets are not a universal setting for a household tool collection with wood, rubber, coatings, or electronics.
Use silica gel only as part of a monitored enclosure
CCI describes silica gel as a way to manage relative humidity inside an enclosure. Its performance depends on the enclosure and the amount and condition of the material. That is different from dropping one leftover packet onto an open pegboard and expecting it to dry the garage.
If you choose a desiccant product, follow its instructions for container volume, placement, replacement, and any regeneration method. Use a suitable humidity indicator or monitor to observe conditions inside the box. Do not assume an old packet is still effective because it looks intact, and do not invent an oven temperature for packets with unknown contents or packaging.
Label the box with the product name and the date you installed or serviced it. Keep desiccant contained and away from children and pets. Review the indicator and tools after opening the box or returning items. If moisture keeps returning, reassess the location, seal, and return routine instead of indefinitely adding packets.
Do not apply one oil or cleaner to the entire kit
Check the exact tool's maintenance instructions before applying a cleaner, lubricant, wax, or corrosion inhibitor. Instructions for a plain metal hinge do not automatically apply to a ratchet mechanism, a calibrated instrument, a coated blade, or an insulated handle. A familiar brand name on a bottle is not proof of compatibility with every surface in the drawer.
Keep gripping surfaces usable and follow the product's handling, ventilation, and disposal directions. Avoid spraying a whole box of mixed tools as a shortcut. This article intentionally does not give a universal chemical treatment or rust-removal recipe: the materials and intended use decide what is appropriate.
If a tool has damaged insulation, a cracked handle, severe pitting, or a mechanism that no longer works correctly, take it out of service and consult the manufacturer. Making a surface shiny does not establish that the tool is safe. Keep the suspect item separate so someone else does not mistake it for a ready-to-use tool.
Keep a small inspection log that leads to a decision
For a new storage setup, choose a repeatable check—weekly at first is a practical starting routine, not a manufacturer requirement. Also inspect after a leak or after returning wet-job tools. Record the date, the storage location, what the indicator shows if present, and whether any new marks or dampness appeared. A phone photograph of the same tool and drawer can make changes easier to notice.
If tools remain clean and dry, keep the setup and adjust the inspection interval to your use and the manufacturer's directions. If a problem repeats, change one relevant part of the process and document it: move the kit, replace a damp liner with a suitable dry one, or service the desiccant as directed. Do not confuse a longer shopping list with a better result.
Before buying a dehumidifier for the whole garage, check that the appliance is intended for the garage's operating conditions and that you can maintain it as instructed. For a small kit, moving the tools to a suitable dry location may be the simpler choice. Batteries and powered equipment still need their own instructions; do not extend this hand-tool routine to them by assumption.
- Location and date: where did you inspect the kit?
- Condition: any new spots, moisture, damaged parts, or dirty liners?
- Indicator: what did the box's monitor show, if used?
- Action: what did you change, and when will you check again?
Primary references
These sources support safety, disposal, or specification details used in this guide.