DIY tools / Buying guide24

The first homeowner tool kit: buy for the next ten jobs
Build a compact, capable kit for hanging, measuring, assembling, repairing, and learning—without buying a rolling chest on day one.
04 DIY tool field guide / 13 articles
The best first tool kit is not the largest one. It is a compact set that covers the repairs and installations you will repeat, fits the space you have, and includes the measuring, lighting, clamping, and protective equipment required to use it with control.
This collection starts with the next ten homeowner jobs, then separates the decisions that deserve their own comparison: drill or impact driver, socket drive size, stud-finding methods, ladder fit, battery storage, and hearing protection. Buy a specialty tool only when a defined project makes ownership better than borrowing or renting.
Start Choose your constraint
Begin with the decision holding up your garage today. Each path connects back to the complete topic library below.
Build the core
Choose cordless
Improve repeatability
Store temporary power
04 Complete topic library
13 focused guides, each built around one search intent and one practical garage decision.
Build a compact, capable kit for hanging, measuring, assembling, repairing, and learning—without buying a rolling chest on day one.
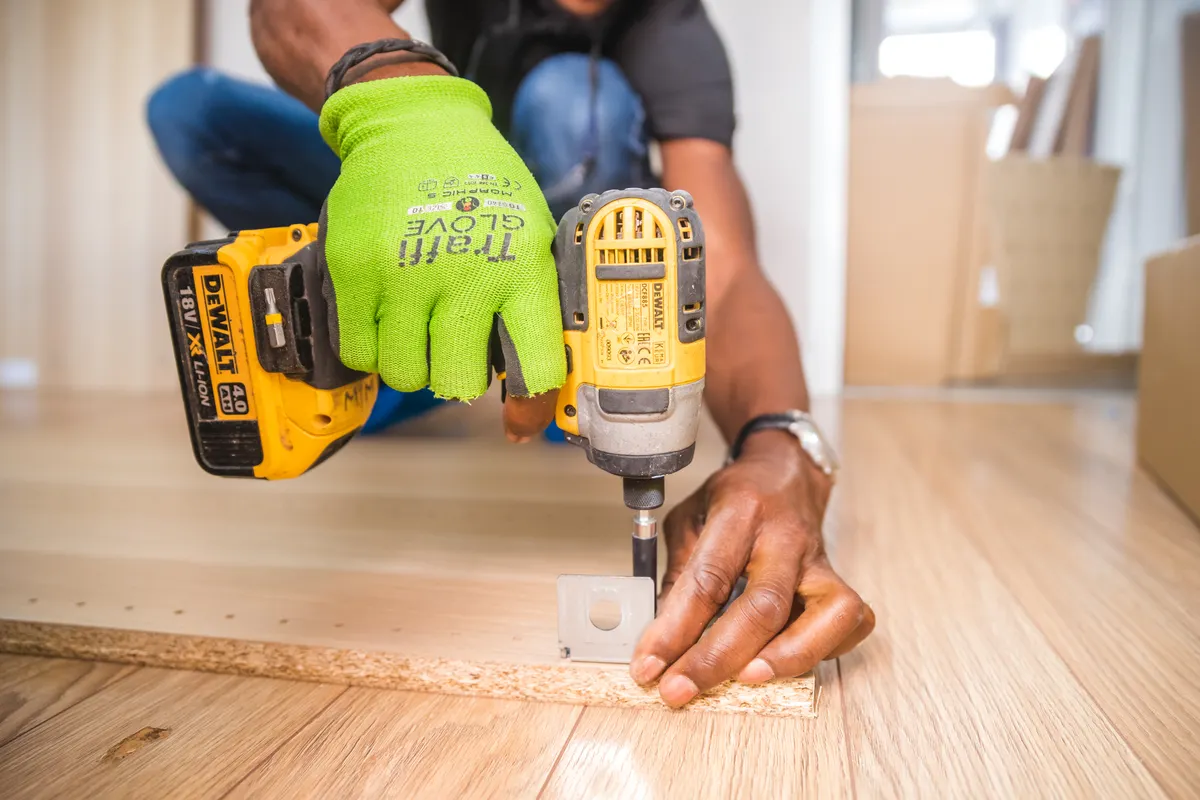
Understand speed, clutch control, bit compatibility, noise, and the jobs that justify owning both tools.
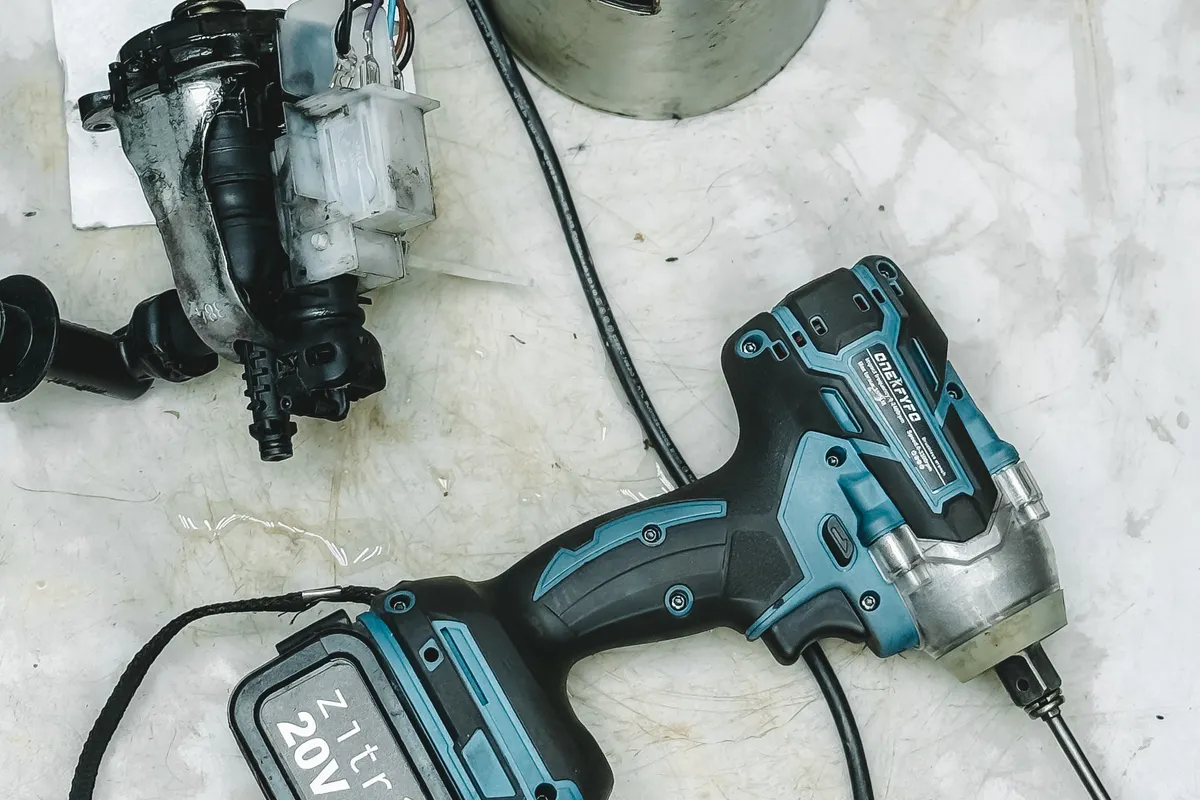
Choose a wall-scanning approach by wall type and project risk, then confirm every reading before drilling.
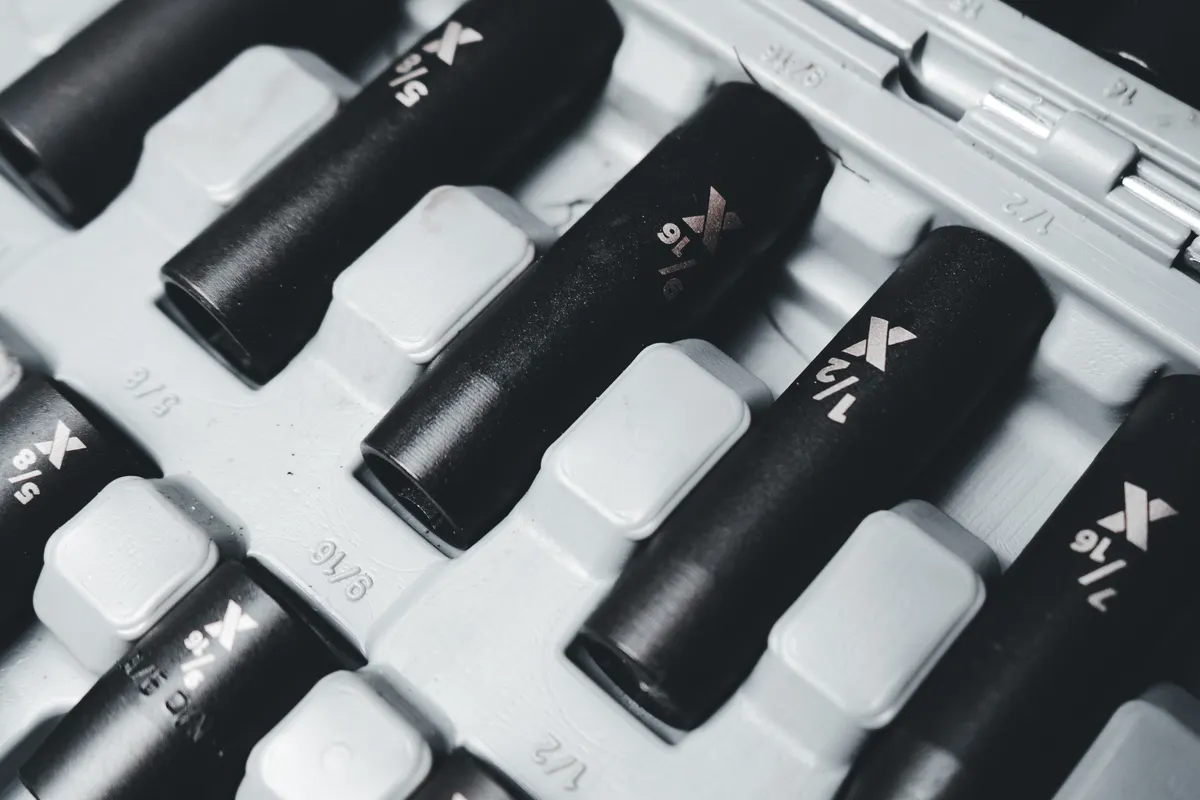
Choose drive size, metric and SAE coverage, socket depth, ratchet access, and storage without paying for filler pieces.

Match ladder type and working height to real tasks, then plan a stable setup area and safe storage location.
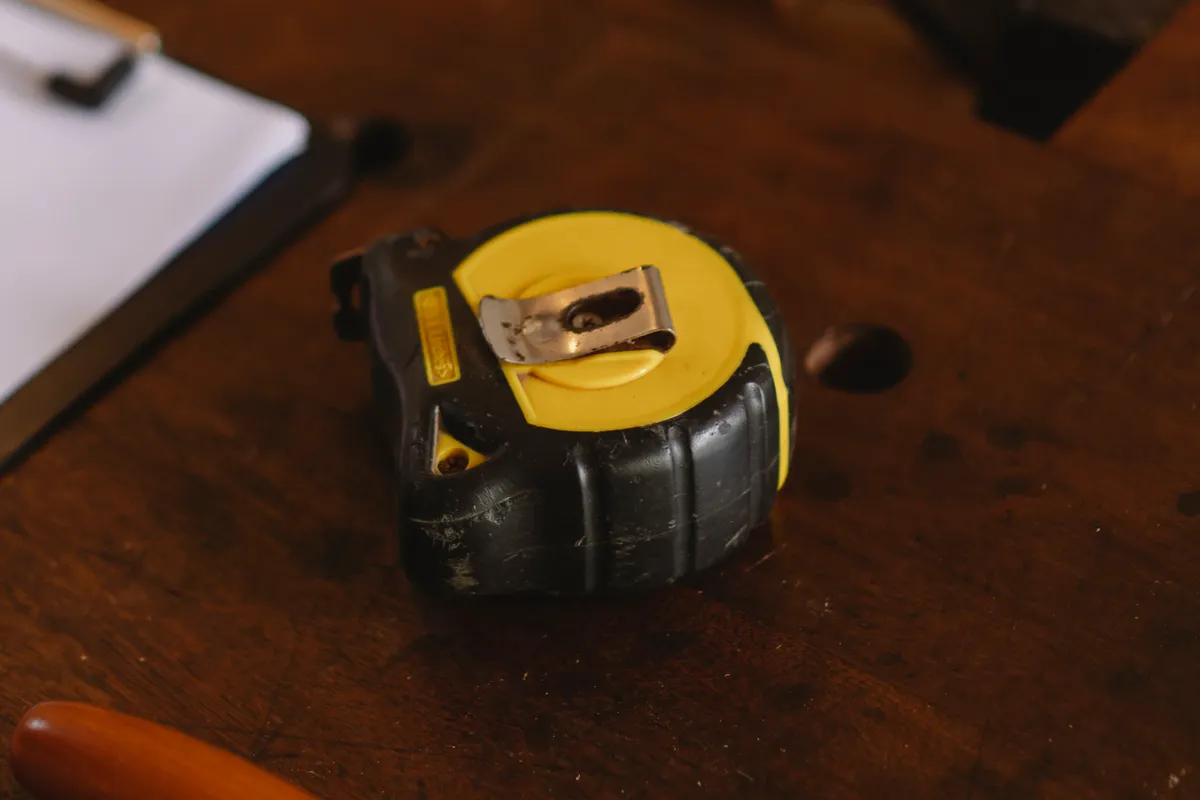
Build a compact kit for room layouts, shelving, hardware, and repeatable cuts before power tools enter the plan.
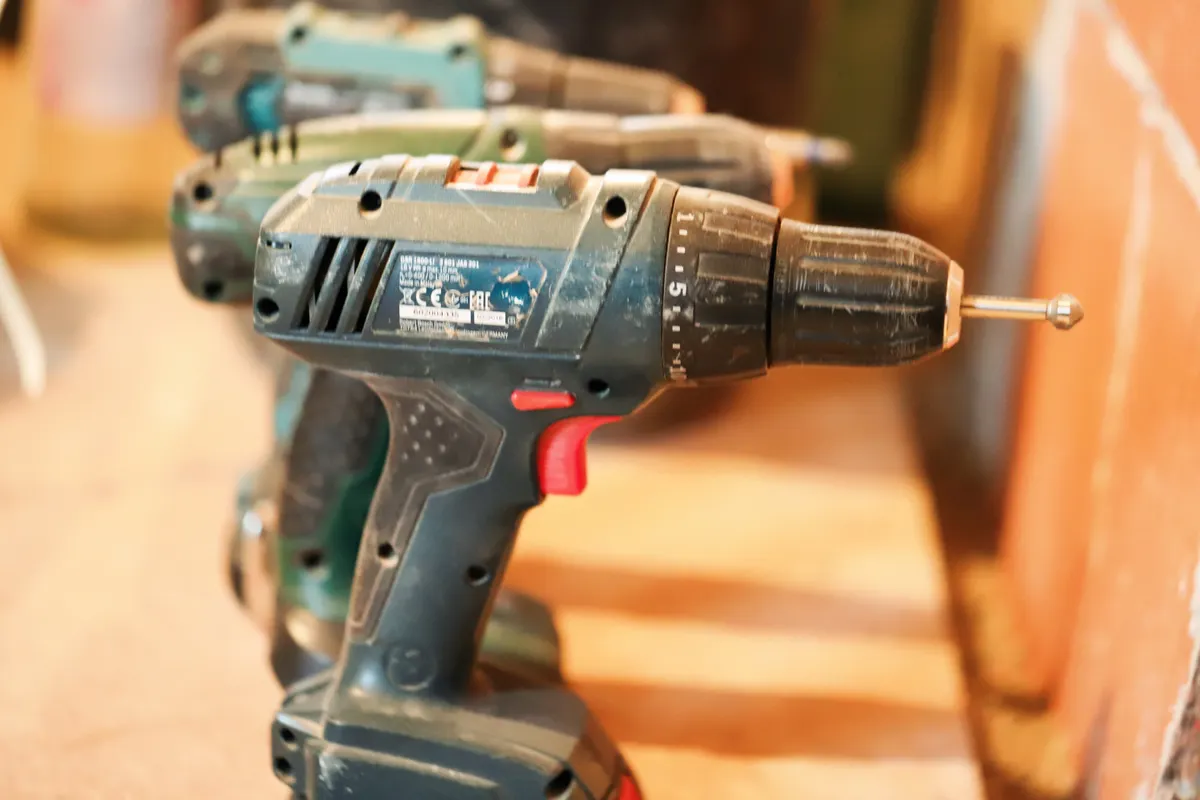
Set up a cool, dry battery station, charge only with the correct equipment, spot damage early, and route retired packs to proper recycling.

Inspect, coil, label, and hang extension cords so they stay easy to identify—without turning temporary power into permanent garage wiring.
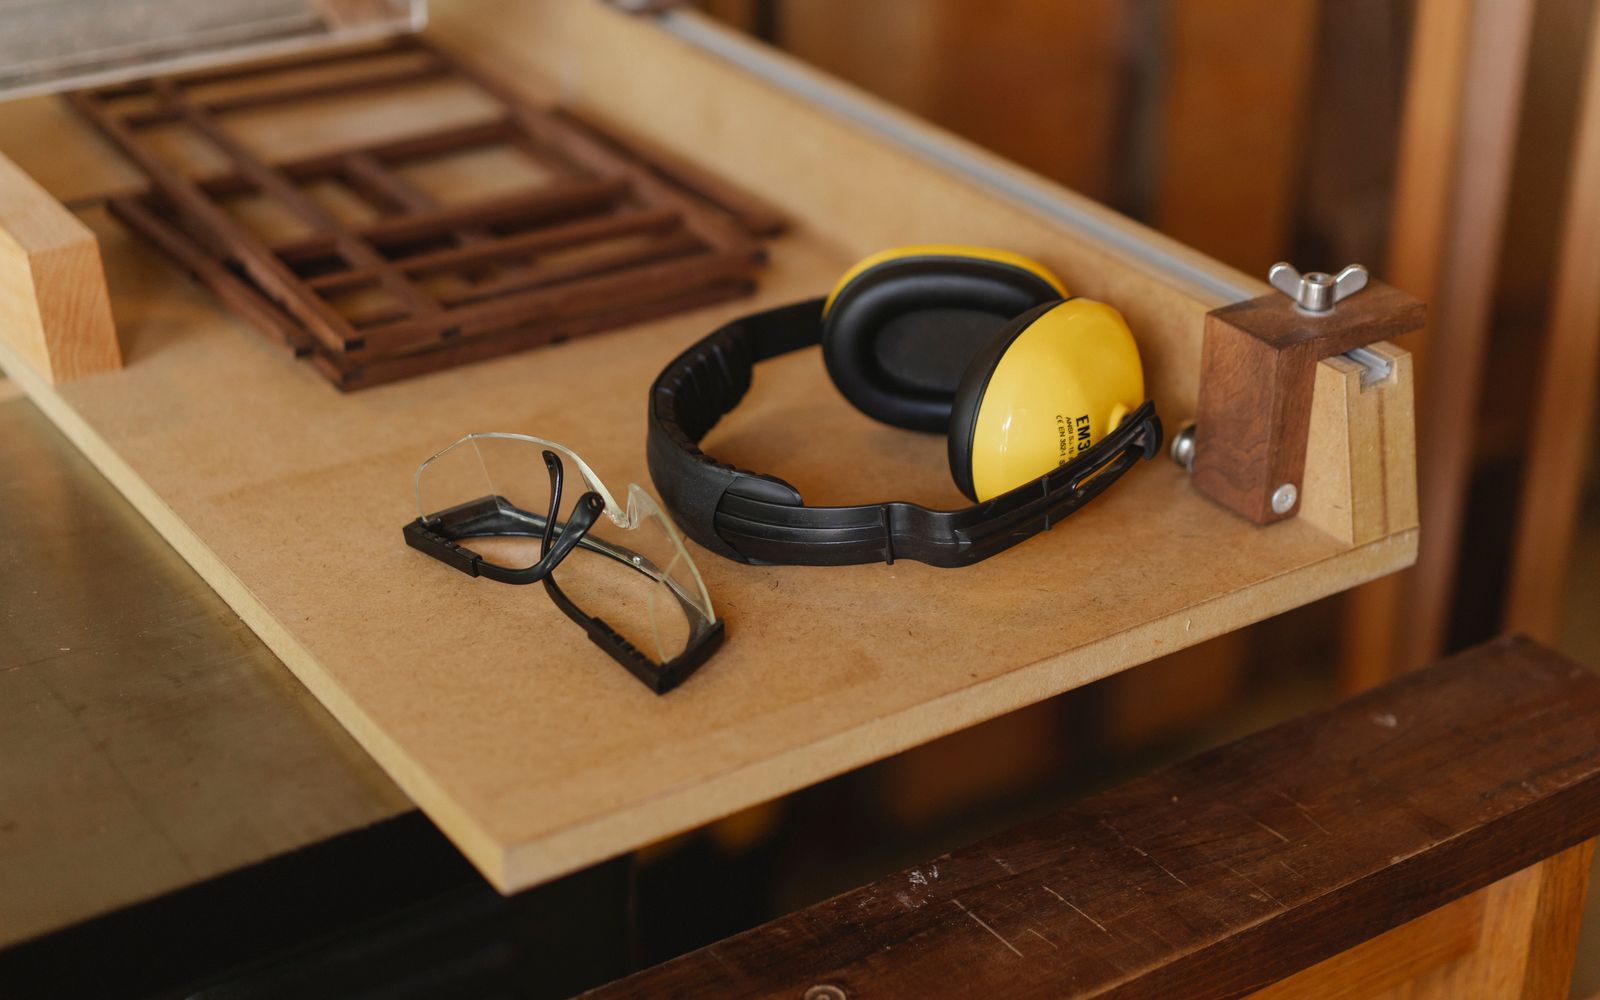
Compare fit, convenience, other safety gear, and noise reduction before the saw, sander, mower, or impact driver starts.

Choose garage workbench height by the primary user, task, finished top, and vise. Test a temporary surface at elbow height before building a fixed bench.

Build a dry-tool return routine, choose open or enclosed storage, and monitor moisture before buying rust-prevention products for your garage.
Choose a small garage clamp kit by jaw opening, throat depth, bench access, and the next project—not the number of clamps in the box.
Identify the screw drive, check the exact tip size, and verify holder compatibility before buying another bit set for your garage toolkit.
Method Use the collection