Fit-first height matrix
Set the hand-contact point before the bare top
| Fit decision | Close visual work | Light assembly | Downward-force work |
|---|---|---|---|
| Reference direction | Near or a little above elbow | Slightly below elbow | Lower than elbow |
| Count above the top | Small parts, magnifier, fixture | Workpiece, mat, clamps | Vise jaws, workpiece, tooling |
| Prototype motion | Inspect and mark a real part | Assemble, measure, and clamp | Plane, press, or cut without power |
| Watch for | Craned neck or unsupported arms | Raised shoulders or bent wrists | Deep repeated bending or unstable force |
| Flexible option | Secured task riser | Main adjustable surface | Separate lower station |
Field note: These are task directions adapted from occupational ergonomics guidance, not residential code or universal dimensions. Prototype with a stable, load-rated setup and follow every tool and support instruction.
Choose a working height, not a catalog number
The useful dimension is the height of the point where your hands meet the job. That may be the bare benchtop, the top of a thick project, the jaws of a vise, or a fixture holding the work above the surface. A bench advertised at a familiar number can still be wrong once those layers are added.
Official ergonomics guidance from the U.S. Army Public Health Center, OSHA, and CCOHS treats work height as a relationship among the user, the task, and the object being handled. Those workplace principles are useful planning references for a home shop, but they are not residential code, medical advice, or a promise that one setup prevents injury.
Measure the primary user's elbow reference
Stand on the floor and mat you expect to use, wearing the shoes normally worn for garage work. Relax the shoulders, let the upper arms hang close to the body, and bend the elbows to roughly a right angle. Have another person measure from the finished floor to the underside of one elbow, then repeat the measurement before recording it.
Treat elbow height as a reference line rather than the answer. Record who was measured, the footwear and mat, and whether the intended surface is the bare top or the actual contact point. If several people will share the bench, identify the primary user and task or plan an adjustable solution instead of averaging everyone into one fixed compromise.
- Measure on the actual finished floor or planned anti-fatigue mat
- Keep shoulders relaxed and elbows near the body
- Repeat the measurement and label the user
- Record the finished working point, not only the bench frame
Move above or below the reference by task
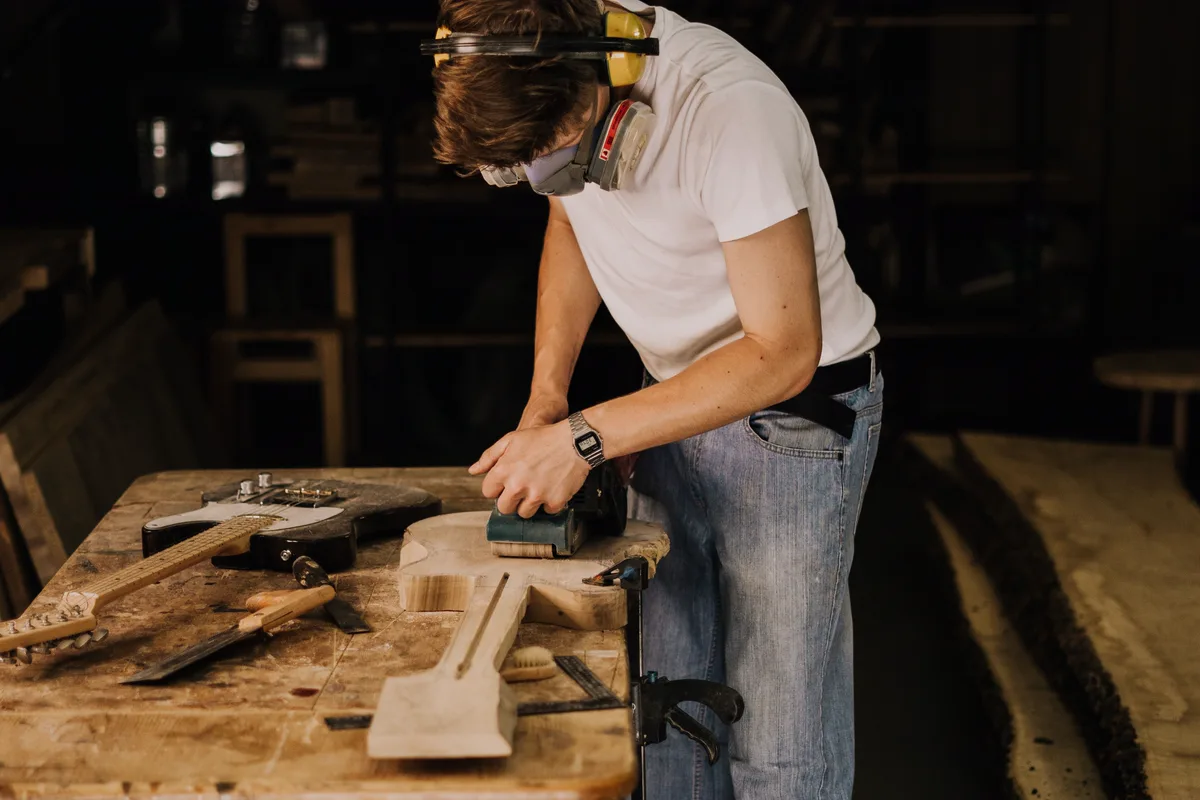
For close visual work, the useful contact point can sit near or a little above elbow height so the project comes toward the eyes without repeated neck and trunk bending. For light assembly and ordinary hand work, OSHA and CCOHS guidance generally places the work slightly below the elbow so the shoulders can stay relaxed and the wrists can remain closer to neutral.
Work that deliberately uses downward force belongs lower. That direction can help the body contribute without lifting the shoulders, but it does not turn a bench into a safe platform for uncontrolled force or unsupported machinery. The official sources use different numeric examples because their tasks and workforces differ; use the direction as a prototype cue, not as a universal inch range for every garage.
Subtract the vise, fixture, and workpiece
Start with the desired hand-contact height, then subtract every layer above the bare top. A vise may hold work at its jaw line; a bench hook, fixture, sacrificial board, or thick assembly adds its own height. The simple planning equation is: desired contact height minus planned stack height equals the approximate bare-top height to prototype.
Use the most frequent setup for the fixed decision. If electronics, carving, or other close work happens only occasionally, a stable task-specific riser may be more sensible than making the entire bench high. If planing, clamping, or other downward-force work dominates, a lower dedicated area may serve better than forcing every task onto one surface.
Prototype before buying or building
Mark two or three candidate heights and try them with a stable, load-rated adjustable surface or another temporary setup intended to support the expected load. Do not stack loose buckets, crates, scrap, or unsecured blocks. Begin with unpowered layout and assembly motions using a representative workpiece, then follow the support and tool manufacturers' instructions before adding real load or powered work.
Spend long enough at each height to notice repeated patterns. If the shoulders rise, the elbows flare outward, the wrists stay bent, the neck cranes toward the work, or the back repeatedly folds forward, change the height, the workpiece support, or the task position. A photograph from the side can help compare posture, but comfort and control during the actual motion matter more than an attractive still frame.
- Test the main task, not an empty standing pose
- Include the real vise, fixture, or a same-height mockup
- Keep the work close enough to avoid repeated overreach
- Reject any temporary setup that rocks, slips, or exceeds its rating
Plan for multiple tasks and users
A height-adjustable base is the clearest answer when users or tasks change often, provided its documented load, locking method, range, and stability match the work. Another option is one fixed general-purpose bench plus a separate lower force area or a secured auxiliary platform for occasional close work. Follow the product or build plan for every structural and load-bearing decision.
Avoid treating a soft anti-fatigue mat, a loose standing platform, or an improvised top layer as a permanent height adjustment. NIOSH notes that prolonged standing itself can create discomfort and that movement and changes among standing, sitting, and leaning are promising approaches. Leave room to change position instead of designing the station around one frozen pose.
Fit the bench to the whole garage
Retest the chosen height with the bench in its planned location. Open vehicle and house doors, raise the garage door, carry a typical project into the bay, and check the reach to clamps, outlets, lighting controls, and frequently used tools. Workbench fit fails when a comfortable surface blocks the daily route or encourages cords and materials to cross it.
Set task lighting after the finished work height is known so the source can sit above or slightly forward of the working edge without putting your hands in shadow. Keep dust-producing work, battery charging, chemical storage, and household overflow in their own controlled zones. Height is one part of a safe, usable station—not a substitute for stability, guarding, ventilation, lighting, or task-appropriate protective equipment.
Use a final fit check before committing
Write the selected bare-top height and the setup that produced it: primary user, footwear or mat, main task, vise or fixture stack, and prototype date. Recheck the decision when a different vise, thicker top, new machine, seated task, or second primary user changes the actual working point.
- The primary task can be done without repeatedly lifting the shoulders
- Elbows stay reasonably close to the body and wrists are not held at an extreme angle
- The work is visible without repeatedly bending the neck or trunk toward it
- The bench and every temporary support stay stable under the intended load
- Parking, doors, power, light, dust control, and walking routes still work together
Primary references
These sources support safety, disposal, or specification details used in this guide.