Original field sketch
The five-zone allocation map
Tape tire positions and every vehicle door swing used during a normal week.
Keep the route to the house clear when the room allows it.
Give monthly-use gear the easiest reach and clearest labels.
Use a movable cart or folding surface instead of a permanent island.
Leave capacity for future categories rather than packing the system on day one.
Field note: Planning targets, not building-code minimums. Measure your parked vehicles, doors, equipment, and service clearances.
Measure the room in its working state
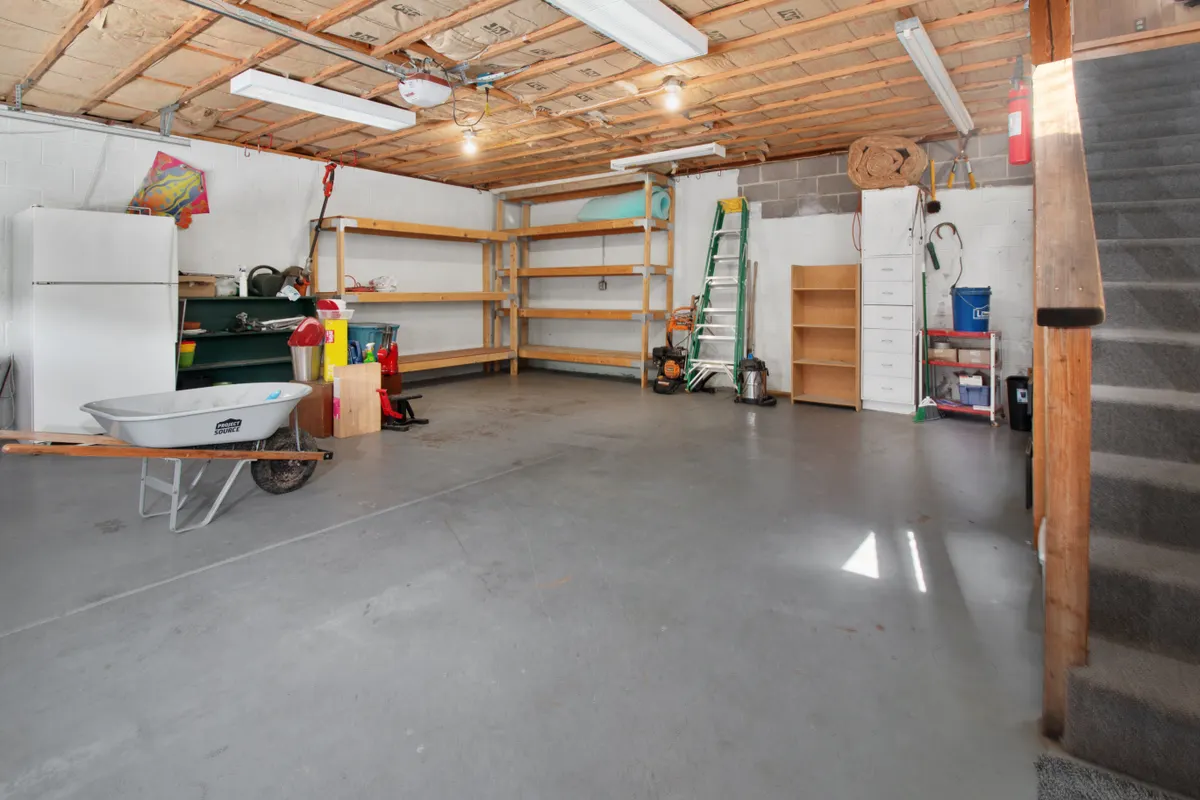
Measure with both vehicles parked, the garage door open, and the door into the house fully swung. Record wall lengths, ceiling height, outlets, steps, windows, water heaters, panels, and anything that needs service access. The empty room is misleading; the working room is what your plan has to respect.
Mark the narrowest walking route from each driver door to the house. A useful target is a path that stays clear without asking anyone to turn sideways, move a mower, or step over a delivery box. Treat that route as permanent floor space, not future storage.
Assign five simple zones
Most homeowner garages can be understood as five zones: parking, transition, active storage, project work, and seasonal storage. The transition zone lives near the house door; active storage belongs between waist and eye level; seasonal storage can move higher or farther away.
- Parking: vehicle doors, charging access, and a clear path around the car
- Transition: shoes, recycling, returns, and items moving into the house
- Active storage: yard tools, sports gear, and supplies used every month
- Project zone: a movable bench, task light, and nearby power
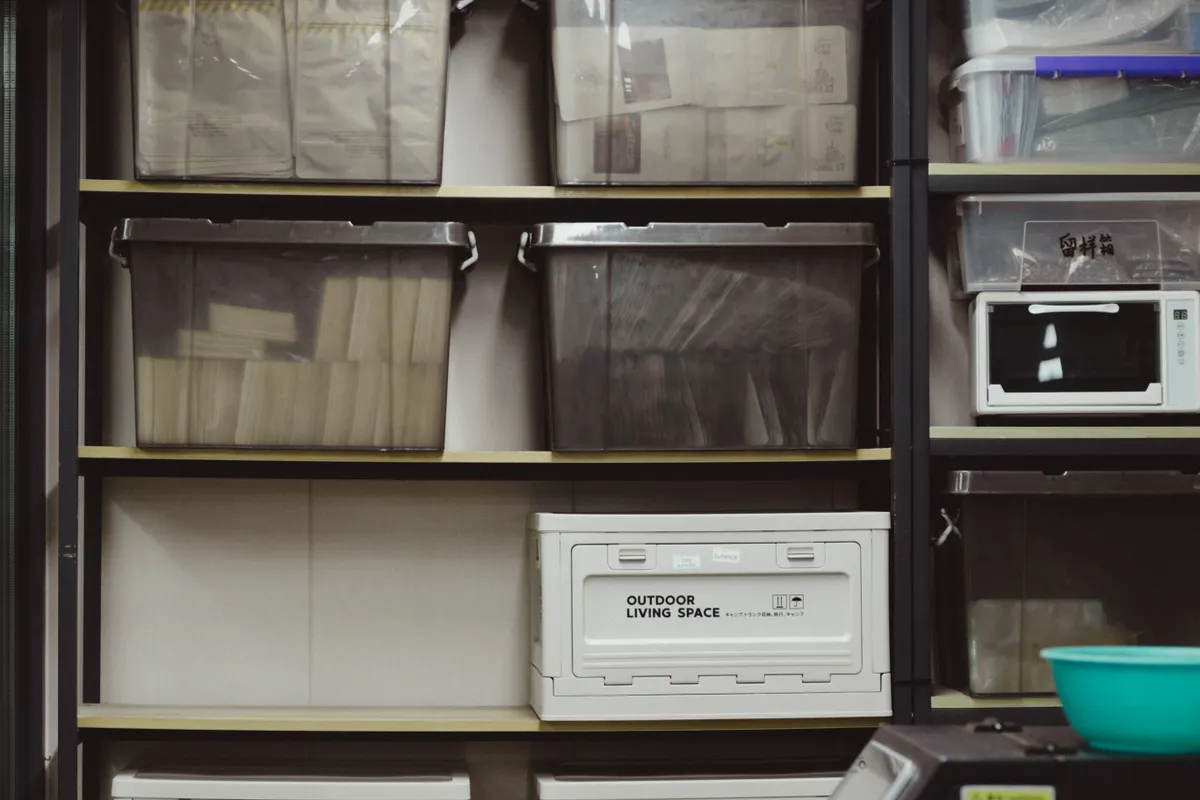
- Seasonal storage: labeled bins above or beyond daily reach
Choose storage by frequency and weight
Put heavy items low, awkward items on dedicated hooks, and light seasonal containers higher. A shelf is not automatically better than a hook: bicycles, folding chairs, hoses, and long-handled tools often use less room when each has a defined vertical position.
Keep chemicals, sharp tools, and automotive fluids in controlled locations appropriate for the household. Follow product labels and local requirements, and do not place heat-sensitive or hazardous materials where children can reach them or where temperature extremes can damage them.
Test the plan before buying cabinets
Use painter’s tape to outline shelving and workbench footprints on the floor and walls. Park normally for a week. Open every door, roll out the trash bins, carry groceries through the room, and note every conflict before drilling a hole.
Buy the smallest system that solves a proven problem. Leaving ten to fifteen percent of storage capacity open is more useful than packing a brand-new system on installation day, because a garage always gains new categories over time.
Give the plan a fifteen-minute reset
A zone system survives only when returning an item is easier than dropping it on the floor. Once each week, clear the route to the house, return active gear to its labeled position, move donations toward the exit, and note any category that repeatedly outgrows its space.
Keep paints, cleaners, oils, batteries, pesticides, and similar products in their original labeled containers and follow each label's storage directions. Do not mix leftovers or pour them into drains, onto the ground, or into storm sewers; use the disposal options provided by your local environmental or solid-waste agency.
Primary references
These sources support safety, disposal, or specification details used in this guide.