Storage-format comparison
Match the system to the return motion
| Decision factor | Wall rail or holders | Pegboard or shallow cabinet | Freestanding tower |
|---|---|---|---|
| Best for | Long-handled shovels, rakes, hoes, and brooms | Pruners, trowels, gloves, and small accessories | Mixed long tools when wall mounting is unsuitable |
| Space used | Wall width plus the widest projecting head | Shallow wall area at easy reach | Permanent floor footprint plus projecting heads |
| Retrieval check | One tool releases without lifting its neighbors | Blades stay protected and each item remains visible | Base stays stable while one tool is removed |
| Installation check | Rail, holder, fastener, and wall follow one documented system | Panel and accessory ratings match the actual wall | Assembly, casters, and tool orientation follow the manual |
| Weak shortcut | Buying by hook count alone | Hiding sharp tools in a deep open bin | Ignoring the floor and vehicle envelope |
Field note: There is no universal head-up or head-down rule. Use the orientation the holder supports securely while keeping sharp or wide parts out of contact paths.
Inventory by shape before buying a rack
Lay the garden tools on the floor only long enough to measure them. Record the tallest handle, the widest rake or broom head, the deepest curved tool, each usable hanging hole, and the weight printed by the maker when available. Include pruners, trowels, gloves, kneeling pads, hose fittings, and the seasonal items that usually end up beside the long tools.
Group the inventory by return motion, not merely by category. Long-handled tools need a holder that captures the handle or head securely; sharp hand tools need a shallow location where blades are protected; small consumables need a bin that can travel to the yard. One universal rack rarely serves all three jobs well.
- Long handles: shovels, hoes, rakes, brooms, cultivators, and digging forks
- Sharp hand tools: pruners, shears, saws, trowels, and soil knives
- Soft gear: gloves, kneeling pads, aprons, and plant ties
- Small parts: hose washers, nozzles, irrigation fittings, twine, and labels
- Separate equipment: powered tools, batteries, fuels, pesticides, and fertilizers
Choose a wall that does not steal the parking path
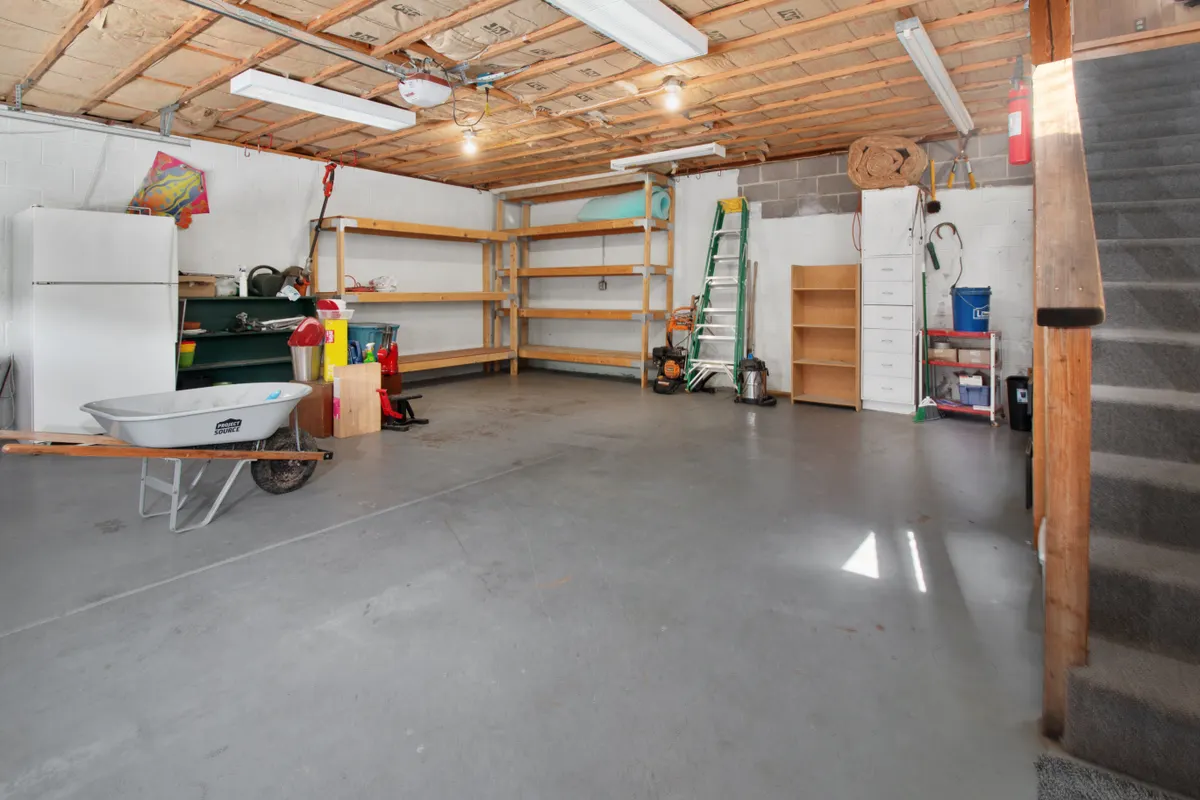
Park the vehicle, open the doors normally, and carry one grocery bag along the route into the house. Tape the proposed rack boundary on the wall, then mark the farthest point of the widest tool head. The useful depth is the complete stored assembly—not the rail or hook depth printed on its own.
Avoid the garage-door tracks and controls, electrical equipment, steps, windows, and areas that regularly become wet. Put everyday tools where they can be removed without reaching over a hood, standing on a step, or swinging a metal head through the walking route. Seasonal tools can move farther from the door, but retrieval still needs a clear floor position.
Clean and dry tools before they reach storage
University of Illinois Extension recommends storing garden tools off the ground and away from moisture, and emphasizes that tools should be clean and dry before storage. Remove visible soil and plant material with a method appropriate to the tool, then dry every surface before returning it to the garage. Do not place a wet shovel in a closed cabinet and expect the organizer to solve the moisture problem.
Tools used on diseased plants may need a separate cleaning and disinfecting step. University of Minnesota Extension advises removing visible dirt first because debris interferes with disinfection, then following the product label and using the protective equipment it specifies. Do not mix cleaning chemicals or improvise a concentration from memory.
Match long tools, hand tools, and mobile storage
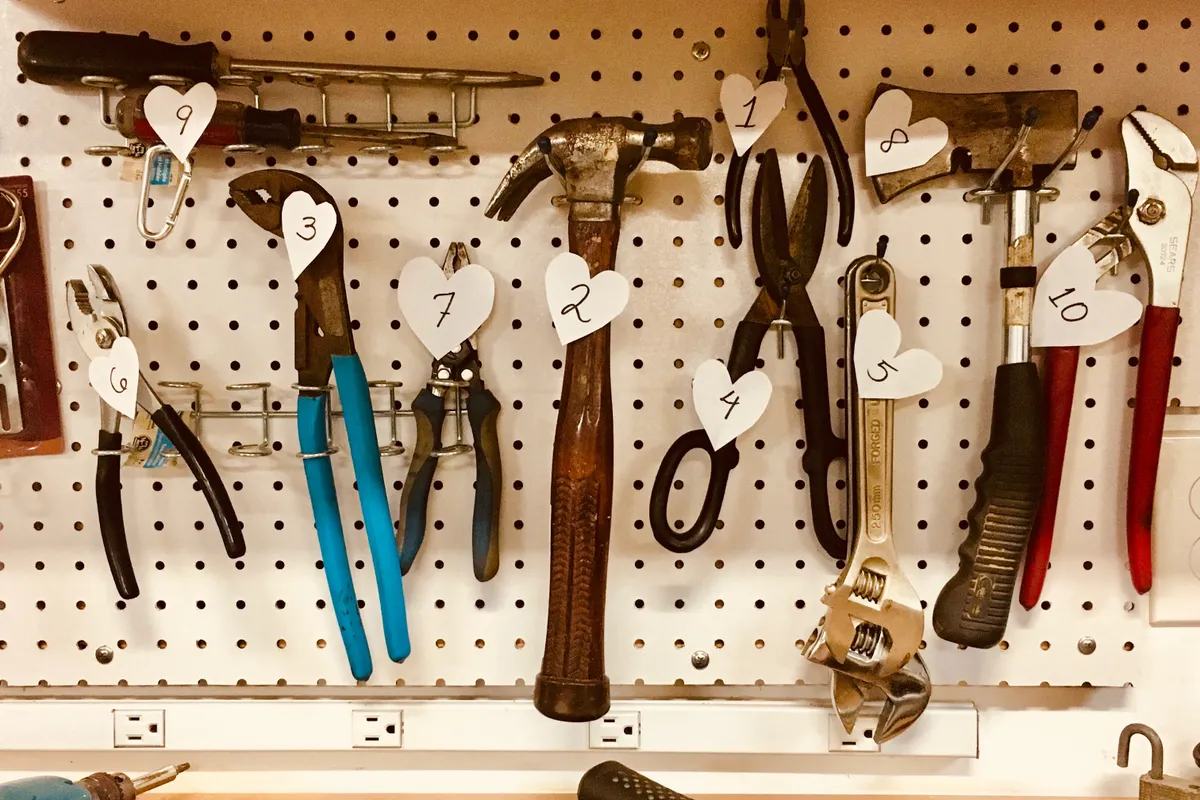
A wall rail or a row of individually anchored holders keeps long-handled tools visible and releases floor space. Pegboard or a shallow cabinet works better for hand tools that would disappear in a deep bin. A freestanding tower avoids wall work and can move for cleaning, but its complete footprint—including projecting rake heads—must stay outside the vehicle and walking envelopes.
Treat every capacity claim as system-specific. Confirm the holder, rail, fastener, wall construction, tool orientation, and load against the manufacturer's instructions. A hook that fits a handle is not automatically designed for that tool, and combining several accessories does not create a new shared rating.
Control heads, blades, and handles
Choose head-up or head-down storage only after confirming that the holder captures the tool securely and the sharp or pointed area cannot meet a face, hand, vehicle, or passing child. Wide rake tines should not project into a doorway. Pruner locks should be closed, removable blade covers should be used when supplied, and cutting edges should not be hidden in a mixed open bin.
Wood, fiberglass, and metal handles need inspection as well as a parking spot. Look for cracks, splinters, looseness, corrosion, and damaged grips. Oregon State University Extension recommends cleaning tools before winter storage and maintaining wooden handles; follow the tool maker's directions for finishes, lubricants, replacement handles, and sharpening rather than applying one treatment to every material.
Build a return routine that takes under two minutes
Put a stiff brush, drying rag, and small carry bin near the yard-side entrance, but keep any cleaning product in its original container and stored according to its label. The return sequence is simple: remove soil, clean as the task requires, dry the tool, inspect it, and place it in its named position. If the tool is damaged or still wet, give it a visible quarantine spot instead of putting it back in the working row.
At the end of each season, empty the hand-tool bin, verify every holder remains tight and undamaged, and check whether wide heads have drifted into the parking path. Remove tools the household no longer uses and leave one open position for the next proven need. A storage wall stays useful when an empty hook is allowed to remain empty.
Primary references
These sources support safety, disposal, or specification details used in this guide.