Pre-load checklist
Before the first bin goes overhead
01Map the ceiling
- Open the door fully and mark its highest moving points
- Locate tracks, opener arm, lights, attic access, and service equipment
- Confirm framing direction and approved attachment locations
02Choose the load
- Use closed containers for light, bulky, seasonal items
- Label contents and approximate weight on the visible end
- Keep dense tools, liquids, and batteries lower
03Install and inspect
- Follow the rack instructions for fasteners and spacing
- Reserve a clean, level ladder setup zone
- Inspect after one month and twice each year
Field note: Stop and obtain qualified help when framing, utilities, clearances, or attachment conditions are uncertain.
Map every moving and serviceable part
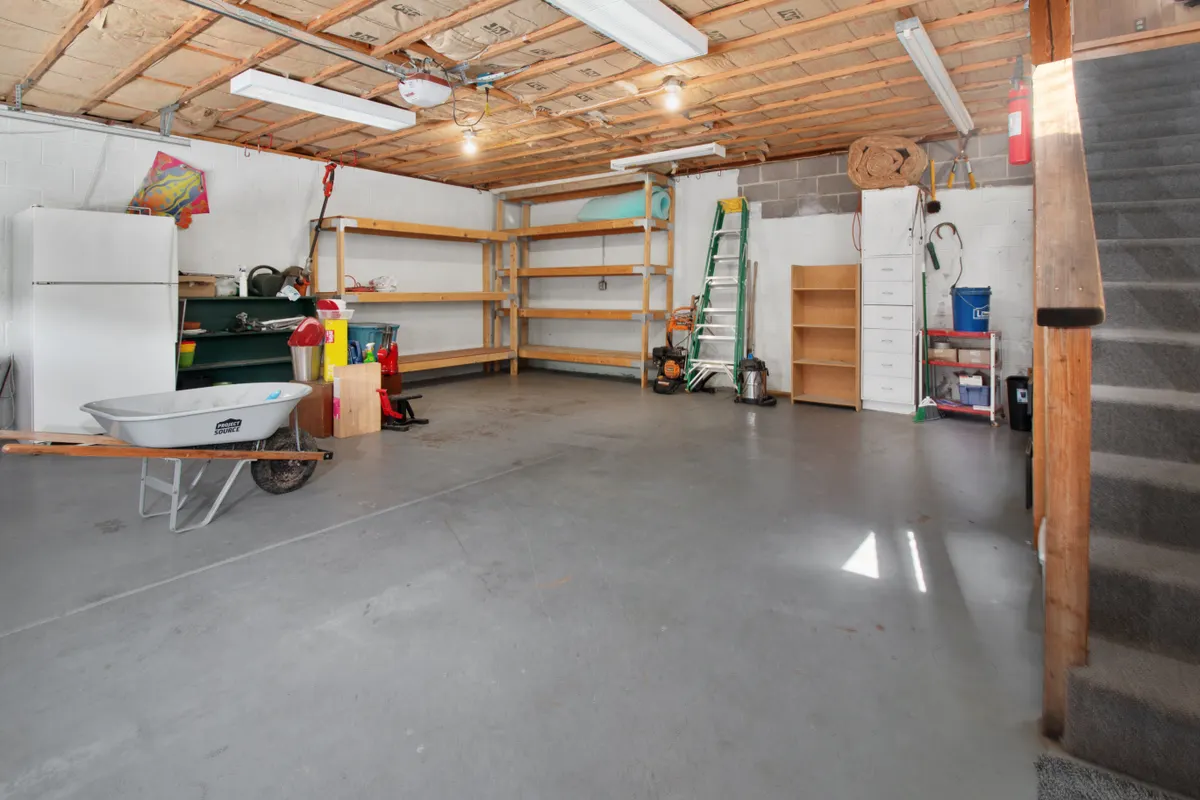
Open the garage door completely and observe the highest and closest points of the panels, tracks, springs, opener arm, and motor. Mark lights, attic access, electrical equipment, plumbing, and anything a technician may need to reach later.
Do not assume empty ceiling space is available structure. Finished ceilings can hide joist direction, utilities, and framing conditions that change where a rack can be installed. If the structure is uncertain, have it evaluated before loading it.
Store the right things overhead
The best overhead candidates are light, bulky, and seasonal: empty luggage, camping pads, holiday decorations, and rarely used sports equipment. Dense tools, liquids, batteries, and containers you need every week belong lower.
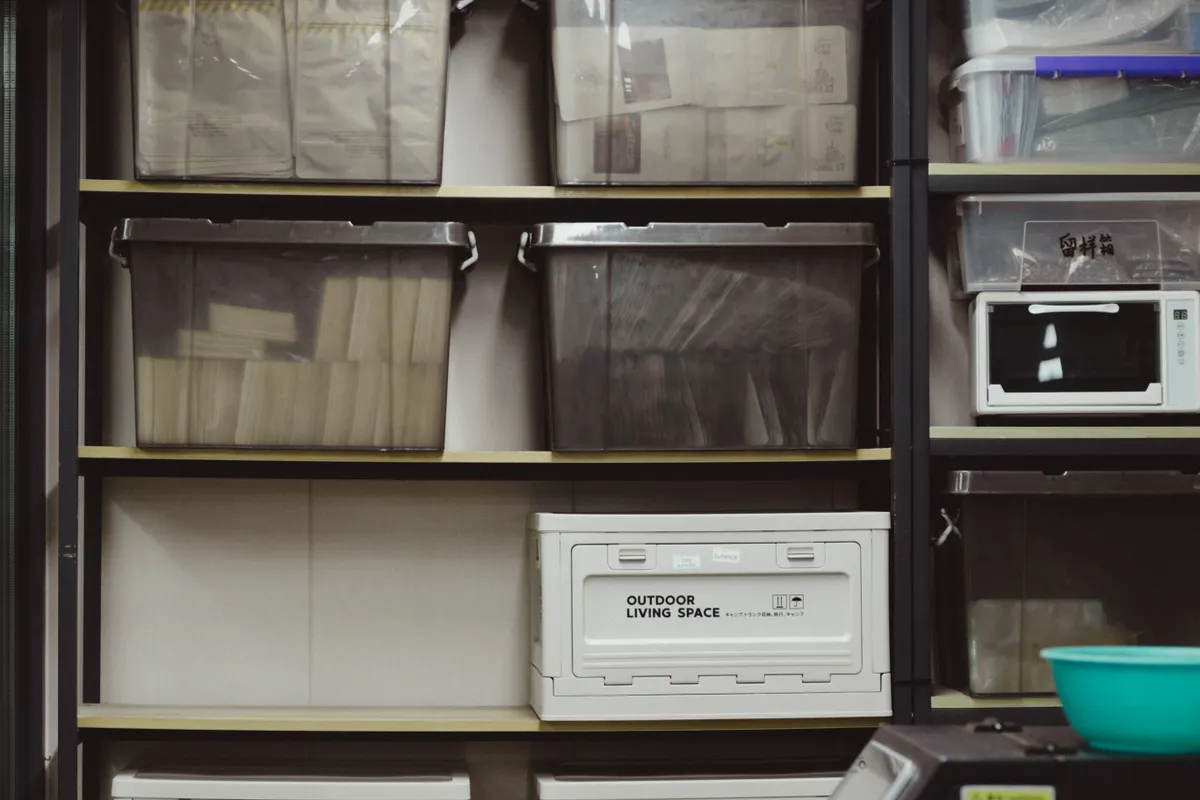
- Use lidded containers that cannot shed loose items
- Label the visible end and record approximate weight
- Keep total load comfortably within documented limits
- Distribute weight evenly instead of creating one dense corner
Plan safe access
A rack is only useful if you can load it without standing on a vehicle, cooler, or improvised platform. Reserve a level setup area for a suitable ladder and keep that area free of cords, wet floors, and door movement.
Place the most frequently accessed bin near the rack edge while keeping it secure. If every retrieval requires moving a car and carrying a heavy tote overhead, the storage location is wrong for that item.
Install, label, and inspect
Follow the manufacturer’s instructions for framing attachment, fastener type, spacing, and configuration. Do not combine the capacity claims of individual components or substitute anchors without documented approval.
Add a visible load label, photograph the completed attachments, and inspect the rack after the first month and twice a year. Remove weight immediately if hardware loosens, the rack changes level, or the ceiling shows movement or damage.
Make a go/no-go record before ordering a rack
Use separate boxes on the planning sheet for structure, moving-door clearance, stored load, and retrieval. Leave an unresolved box blank rather than assuming that another successful check covers it. A rack can fit between the door and ceiling while still being unsuitable for the supporting construction.
SafeRacks' FAQ assumes the installer can identify ceiling joists and directs readers to its installation guidance. That is a product-specific starting point, not proof that your finished ceiling can carry a rack. Give the proposed model, location, and intended inventory to a qualified installer when framing or load suitability is uncertain. Do not infer structural capacity from a stud-finder signal.
Create a container ledger: container ID, contents, measured loaded weight, intended position, and date checked. As a purely arithmetic example, four containers at 12 pounds each total 48 pounds. That subtotal is not an allowed ceiling load. The rack's own weight and the maker's definition of its rating still matter, as do the supporting structure and load distribution.
Rehearse retrieval with an empty container at a safe, accessible location. If the plan requires reaching sideways, standing on a car, or carrying an awkward load while climbing, change the storage location or access method. A paper capacity calculation cannot fix an impractical retrieval route.
Primary references
These sources support safety, disposal, or specification details used in this guide.