Shadow-control sketch
Move the source in front of the shadow line
Supports circulation but should not be the only bench light.
Cover the working width while shielding exposed LEDs from view.
Place the source above or just ahead of the front working edge.
Add a movable arm light for electronics, layout, or finishing.
Field note: Test while sitting and standing. Change the position if the LEDs are visible or polished tools create hot reflections.
Fix the shadow at its source
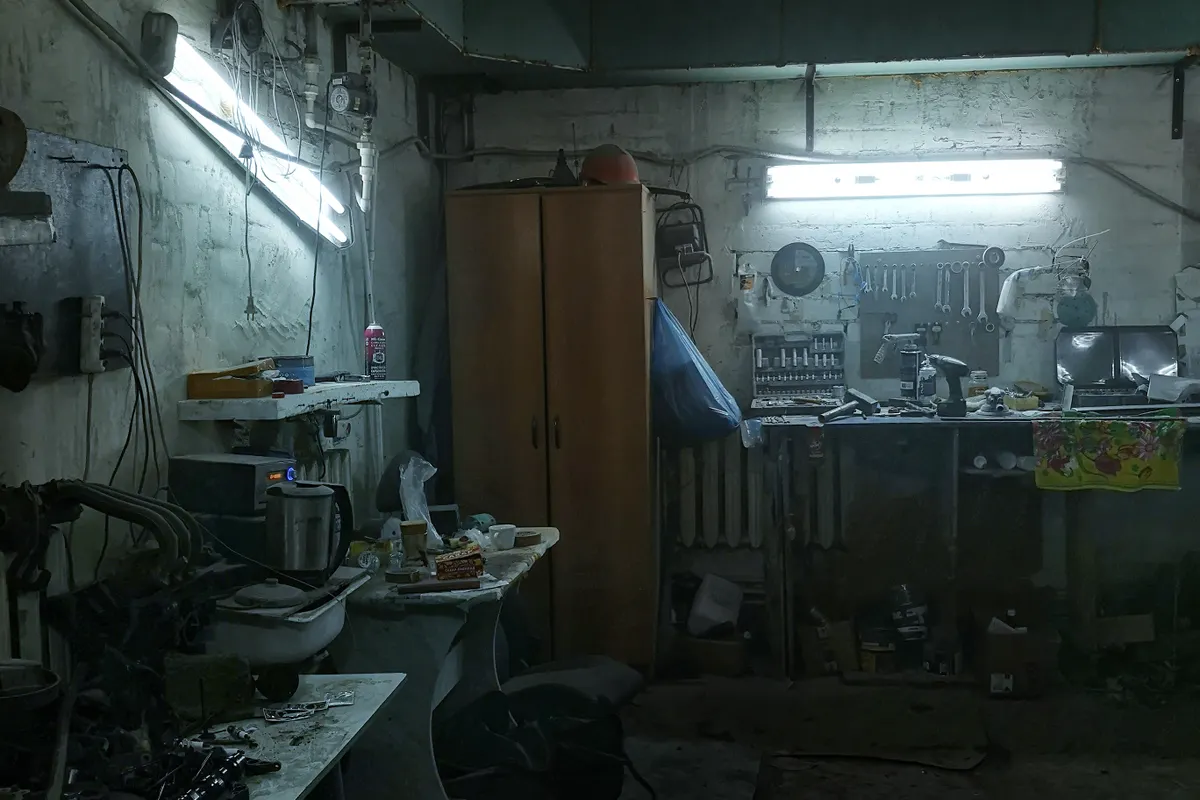
A ceiling fixture behind your shoulders puts your head and hands between the light and the work. Position the task source above or slightly forward of the bench’s front edge so light reaches the cutting line and assembly area.
A long source creates fewer hard shadows than one small, intense point. Diffusion is especially helpful around polished tools and light-colored benchtops.
Match the light to the job
General repairs need broad, comfortable coverage. Fine layout, electronics, finishing, and color matching benefit from higher color rendering and adjustable local light. One movable arm light can supplement a wide ambient strip for occasional close work.
- Wide linear source for the full working surface
- Diffuser or shield to keep individual LEDs out of direct view
- High color rendering for finishes and colored components
- Switch within reach without crossing the cutting area
Control glare and reflections
Sit or stand in every normal working position and look toward the source. If exposed LEDs are visible at a shallow angle, a deeper diffuser, shield, or different mounting position may be more comfortable.
Dark matte wall finishes reduce reflected light; bright glossy surfaces can create hot spots. The fixture and the room work together, so test before buying multiple units.
Plan power without loose cords
Route plug-in cords away from the bench edge, clamps, sharp tools, and moving storage. Use only connections and linking accessories approved for the fixture, and preserve access to the switch and plug.
For permanent wiring, new boxes, or altered circuits, follow product instructions and local requirements. Bring in a qualified electrician when the scope exceeds a straightforward plug-in installation.
Primary references
These sources support safety, disposal, or specification details used in this guide.