Nine-point review
Catch these mistakes before installation day
01Specifications
- Compare delivered lumens, not watts
- Treat Kelvin separately from brightness
- Verify temperature and location ratings
- Check the documented linking limit
02Layout
- Avoid putting all output on the centerline
- Draw the fully open garage door
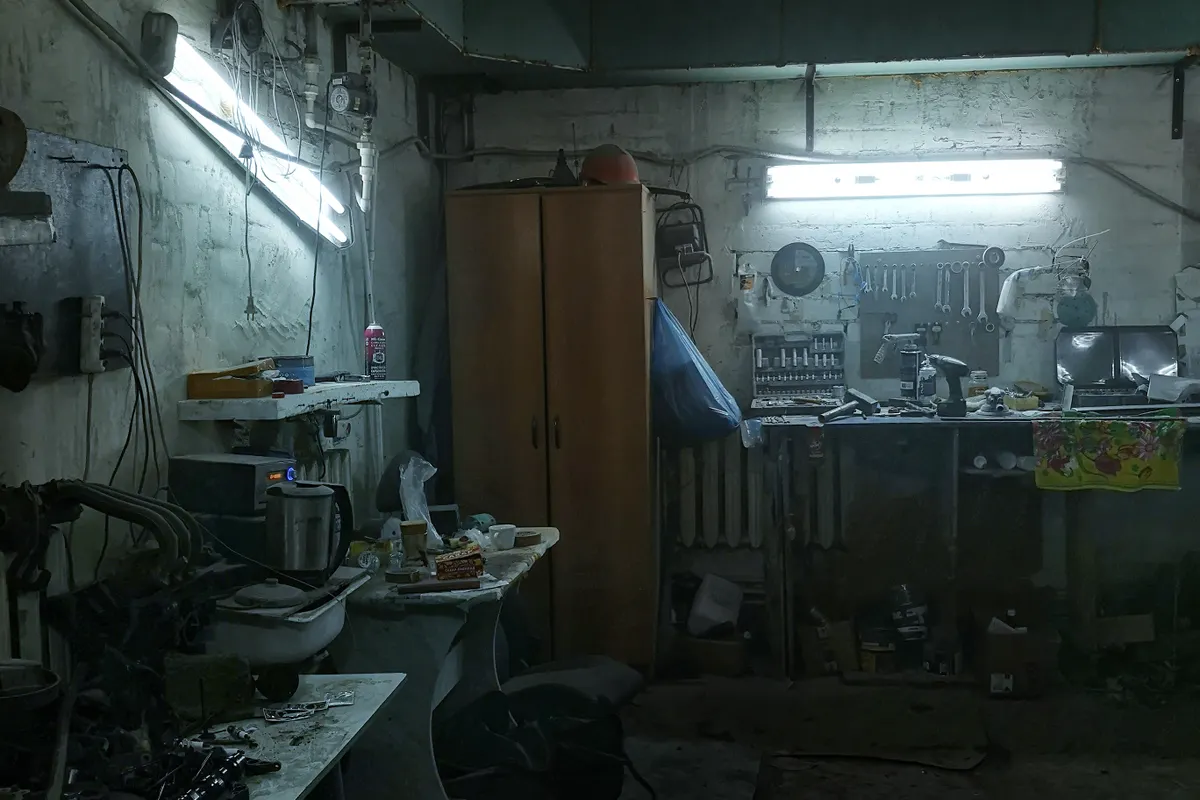
- Place the bench light in front of the worker
03Final test
- Check glare from normal eye level
- Test one representative fixture at night with vehicles parked
Field note: Photograph dark bands and glare before completing the installation; adjust spacing or task lighting first.
Specification mistakes
Do not compare fixtures by watts or vague replacement claims. Record lumens, color temperature, color rendering, distribution, operating range, and location rating. Confirm whether a claimed value applies to one fixture or an entire multi-pack.
- Buying by watts instead of delivered lumens
- Treating Kelvin as a measure of brightness
- Ignoring temperature and location ratings
- Assuming every linkable fixture supports the same number of units
Layout mistakes
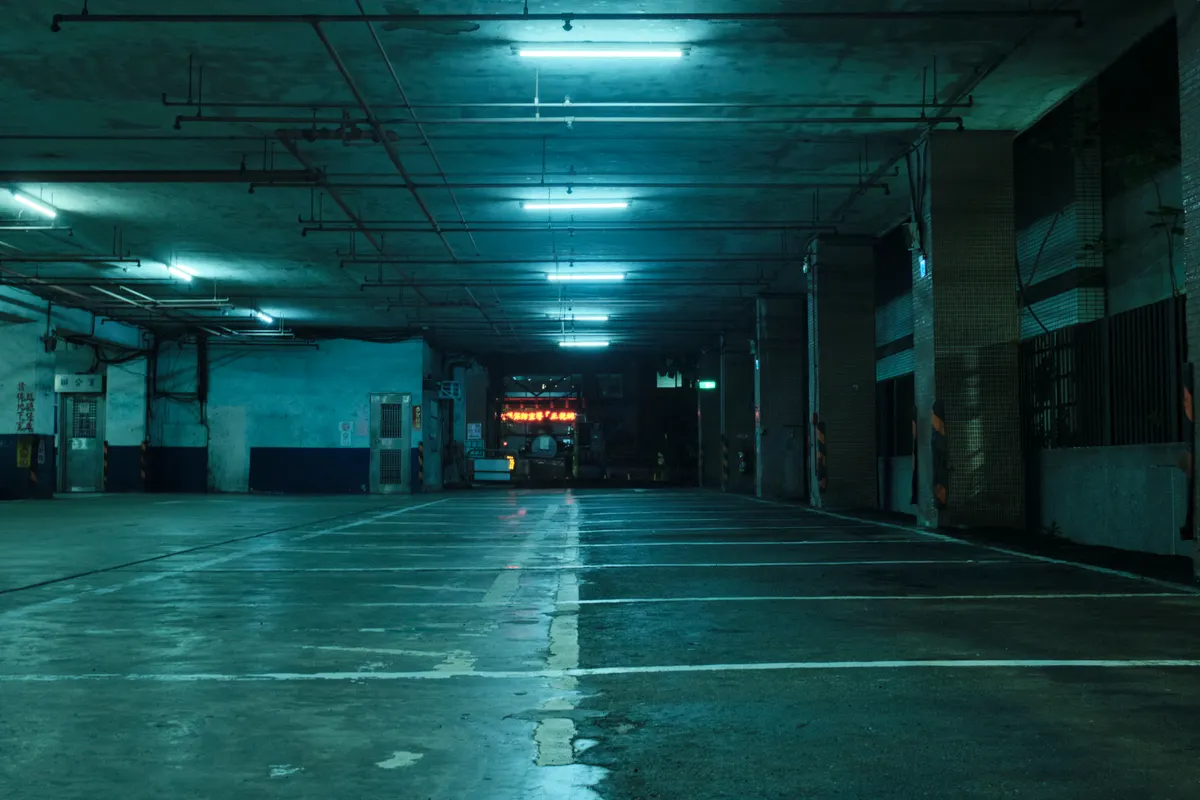
A single bright source in the middle creates vehicle and body shadows. Rows usually deliver more usable coverage. Draw the fully open garage door and all tracks before placing fixtures, then include side aisles and the front storage wall.
- Putting all output on the centerline
- Forgetting the open door blocks ceiling light
- Mounting the bench light behind the worker
Comfort and control mistakes
Exposed high-output LEDs can be uncomfortable even when the room is not evenly lit. Check sightlines from under a vehicle hood, at the bench, and while entering from a darker house. Diffusers and multiple lower-intensity sources can help.
Place controls where they match entry paths and consider how fixtures behave after power loss. A smart control is not useful if the basic wall-switch experience becomes unreliable.
The missing test
The ninth mistake is completing the entire installation before observing one representative fixture at night. Test with vehicles parked, cabinets loaded, and the door open. Photograph dark areas and glare from normal eye level.
Adjust spacing or task lighting before scaling the setup. For permanent electrical changes, use qualified help where required.
Troubleshoot by symptom before replacing all the fixtures
Make a four-column log: location, activity, condition, and symptom. 'Bench / reading a pencil line / door open / hand shadow' is more actionable than 'garage too dark.' Compare the same spot with the door closed and without standing between the source and the work.
If the problem occurs only with a vehicle or open door in place, investigate obstruction and placement. If looking toward the source is uncomfortable but the work is visible, investigate glare and shielding rather than automatically increasing output. If only one detailed task fails, evaluate a local task light before raising the whole room's output.
Change one planning variable at a time and record the result. Follow manufacturer mounting and electrical instructions; do not balance an energized fixture on stored objects to simulate a layout. Keep the before-and-after observation as a household decision record, not a claimed measured lighting standard.
Primary references
These sources support safety, disposal, or specification details used in this guide.