Lumen planning example
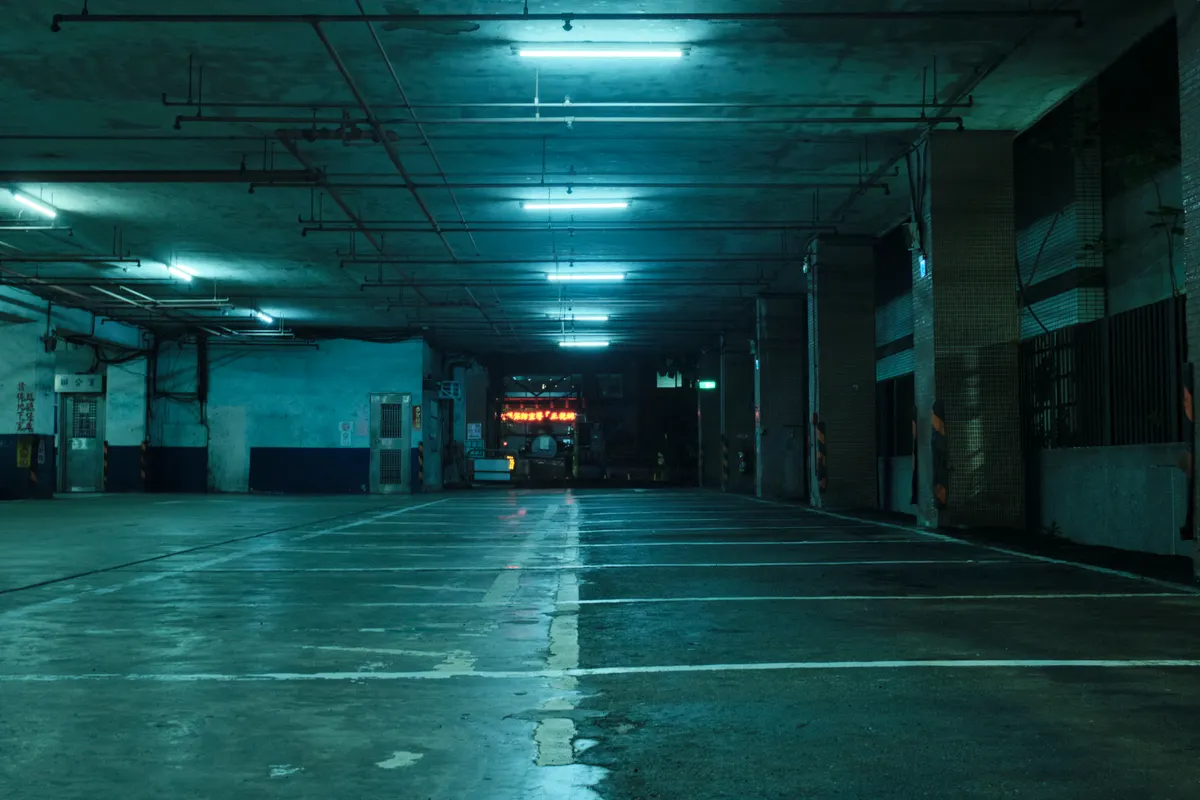
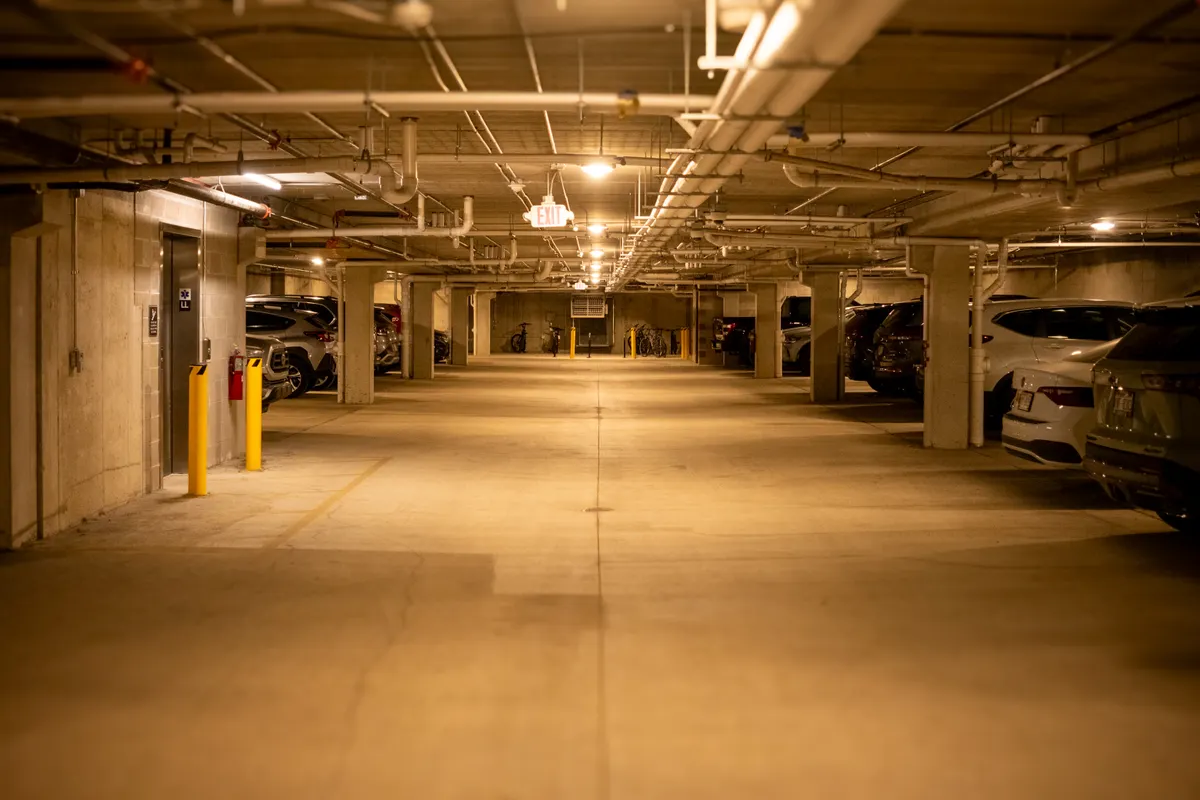
A 20 x 22 ft two-car garage
20 ft x 22 ft example room.
Planning range of about 13,200-17,600 total lumens.
Planning range of about 17,600-22,000 total lumens.
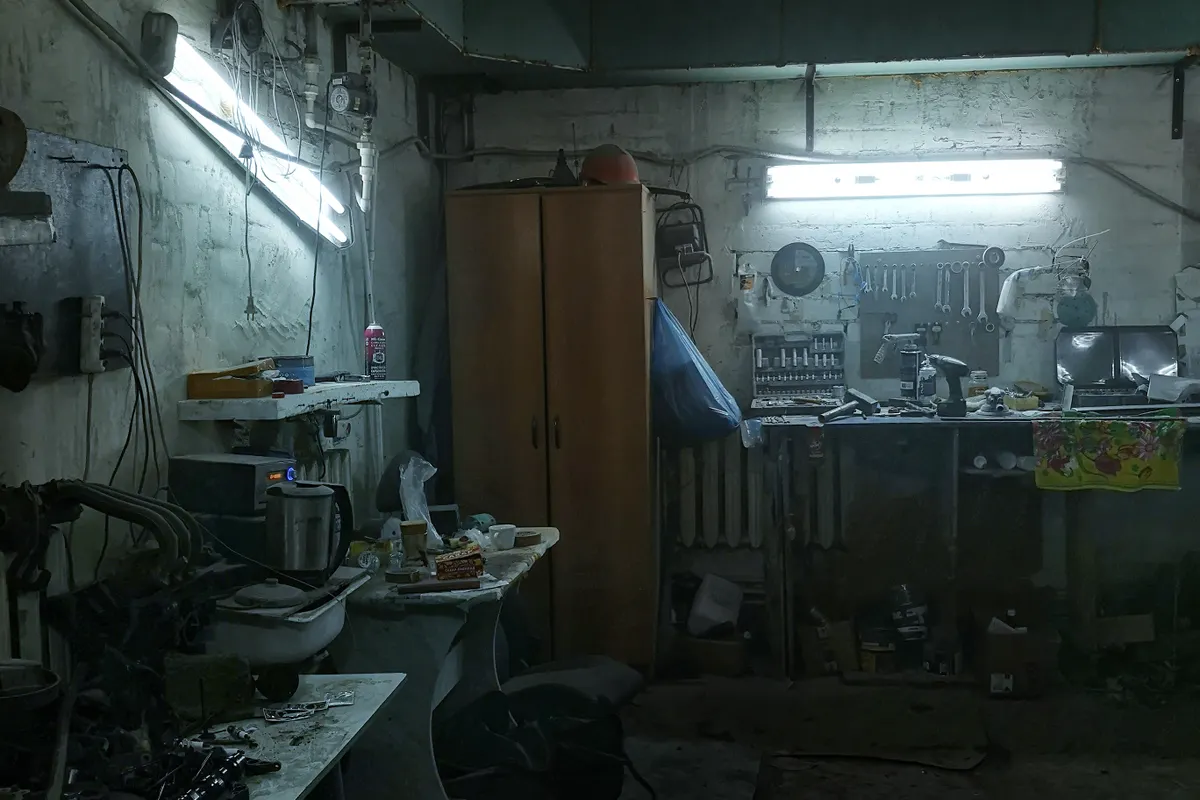
Raise light at the task instead of over-lighting the entire room.
Field note: These are starting estimates. Ceiling height, fixture distribution, wall color, vehicles, cabinets, and the open door change delivered light.
Start with the work, not the fixture
A garage used only for parking needs less light than one used for repairs, woodworking, or weekend projects. Map the floor into parking, storage, circulation, and task zones before shopping. Ambient light should make the whole room comfortable to move through; task lighting should raise brightness where you measure, cut, assemble, or inspect.
Our calculator uses lumens per square foot as a planning shortcut, not an electrical or photometric design. Ceiling height, fixture optics, wall color, garage-door position, and cabinet shadows all change the delivered light at the work surface.
Choose a useful planning target
For homeowner planning, 30–40 lumens per square foot is a reasonable starting range for parking and storage, while 40–60 supports general DIY. Detailed work is usually better served by a dedicated task light than by pushing the entire room to one extreme level.
- Parking and storage: begin around 30–40 lumens per sq ft
- General DIY: begin around 40–60 lumens per sq ft
- Detailed bench work: add controlled local task lighting
- Treat every number as a starting estimate and verify the actual fixture data
Spread light across the ceiling
Multiple modest fixtures usually create better uniformity than a single high-output fixture. Place rows along the vehicle bays and account for the open garage door, which can sit below ceiling-mounted lights and block their output.
Aim light into the side aisles, front storage wall, and the area behind parked vehicles. Keep fixtures, cords, and mounting hardware clear of door tracks, moving parts, attic access, and equipment that requires service.
Give the workbench its own layer
Mount the task light above the front working edge rather than directly behind your head. A wide, diffused source reduces harsh shadows and makes layout marks easier to see. High color rendering is useful when matching finishes, reading wire colors, or inspecting painted surfaces.
Plug-in fixtures can simplify a first setup, but cords still need strain relief and a route away from sharp edges and moving doors. Hardwired changes should follow product instructions and applicable local requirements; use a qualified electrician when the work is beyond your authorization or experience.
Test one zone before committing
Install or temporarily hang one representative fixture and observe it at night with vehicles, cabinets, and the garage door in their normal positions. Check glare while looking up from the bench and dark bands along shelves.
Use the result to adjust spacing before completing the room. The goal is not the largest lumen number on a product page; it is even, comfortable light where the garage actually functions.
Primary references
These sources support safety, disposal, or specification details used in this guide.