Specification table
Compare the installed result, not the box headline
| Specification | What to verify | Why it matters | Weak shortcut to avoid |
|---|---|---|---|
| Output | Delivered lumens | Sets fixture count | Watt-equivalent claims |
| Distribution | Beam spread or spacing guidance | Controls dark bands | Lumens alone |
| Color | CCT and CRI | Changes appearance and color reading | Assuming higher Kelvin is brighter |
| Environment | Temperature and location rating | Protects reliability | Indoor label without details |
| Linking | Maximum units or total load | Prevents an unsupported chain | Matching connector shape |
Field note: Include approved cables, mounting hardware, controls, warranty, and replacement availability in the installed cost.
Read lumens before watts
Lumens describe light output; watts describe power use. Efficient LED fixtures can produce different amounts of light from similar wattage, so watt-equivalent language is a weak way to compare garage fixtures.
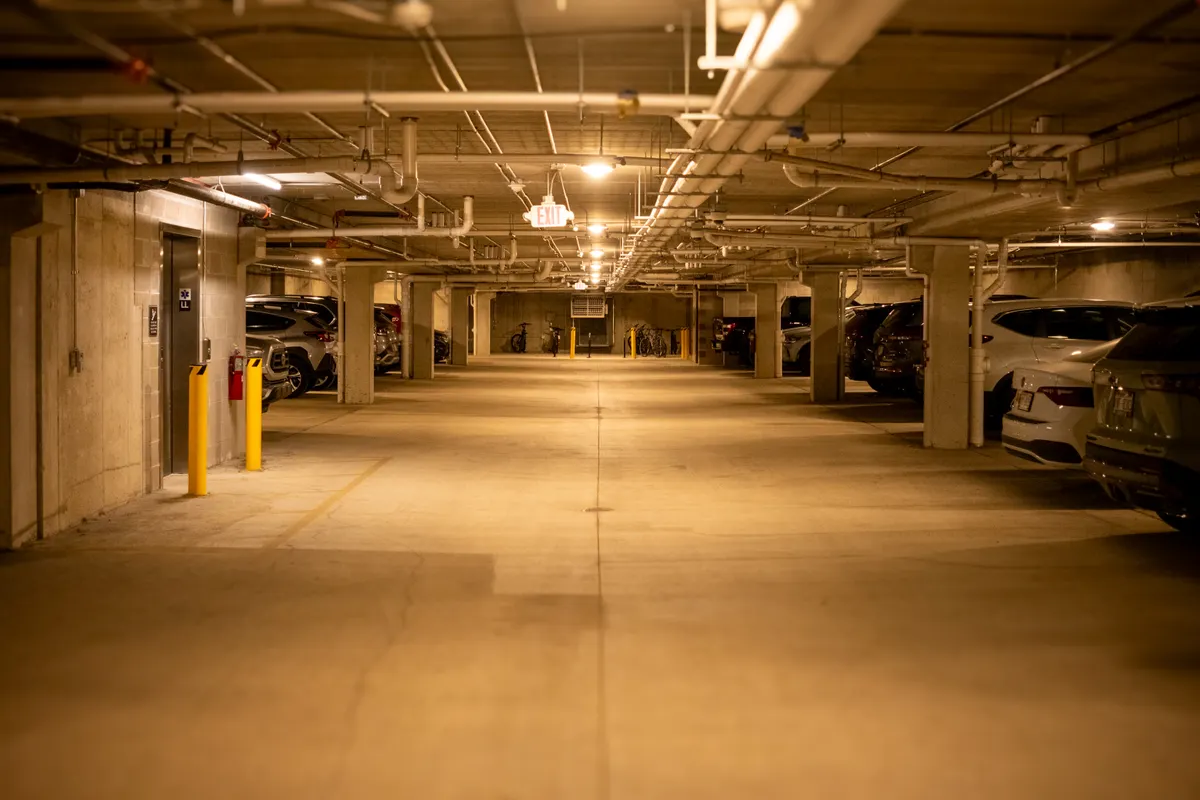
Record the claimed lumens per fixture and use them with your room estimate. Then look for information about beam distribution or spacing, because two fixtures with the same lumen rating can place that light very differently.
Choose color and color quality deliberately
A neutral-to-cool appearance around 4000K–5000K is common in garages because it keeps the room visually crisp. Higher Kelvin is not automatically brighter; it describes appearance. If the garage is also a comfortable hobby space, many people prefer the less clinical feel of 4000K.
Color rendering matters when you identify wire colors, match finishes, or inspect paint. Compare the manufacturer’s CRI information instead of assuming every white LED reveals colors equally well.
Match the fixture to the environment
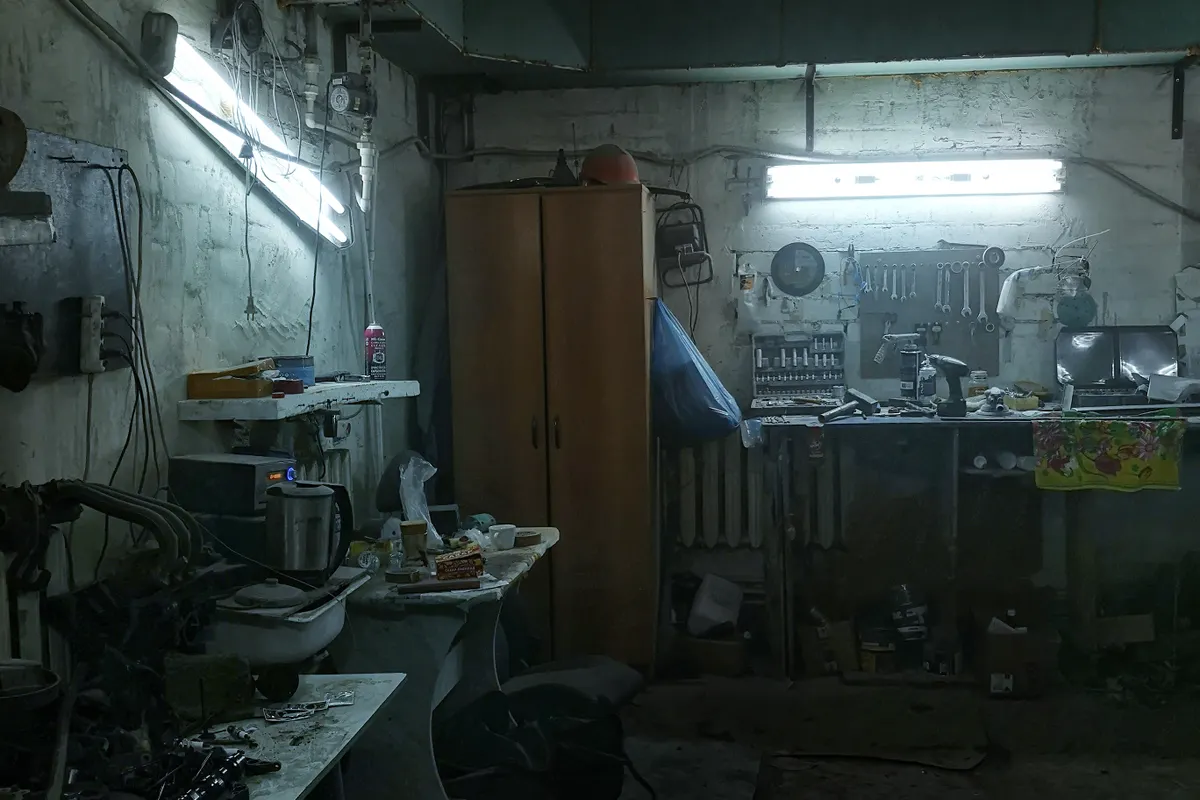
Garages may be cold, hot, dusty, or damp depending on climate and construction. Verify the fixture’s listed operating temperature, location rating, and installation orientation. An enclosed or poorly ventilated mounting condition can be different from an open ceiling.
- Operating temperature appropriate for local winters and summers
- Damp-location suitability when moisture is plausible
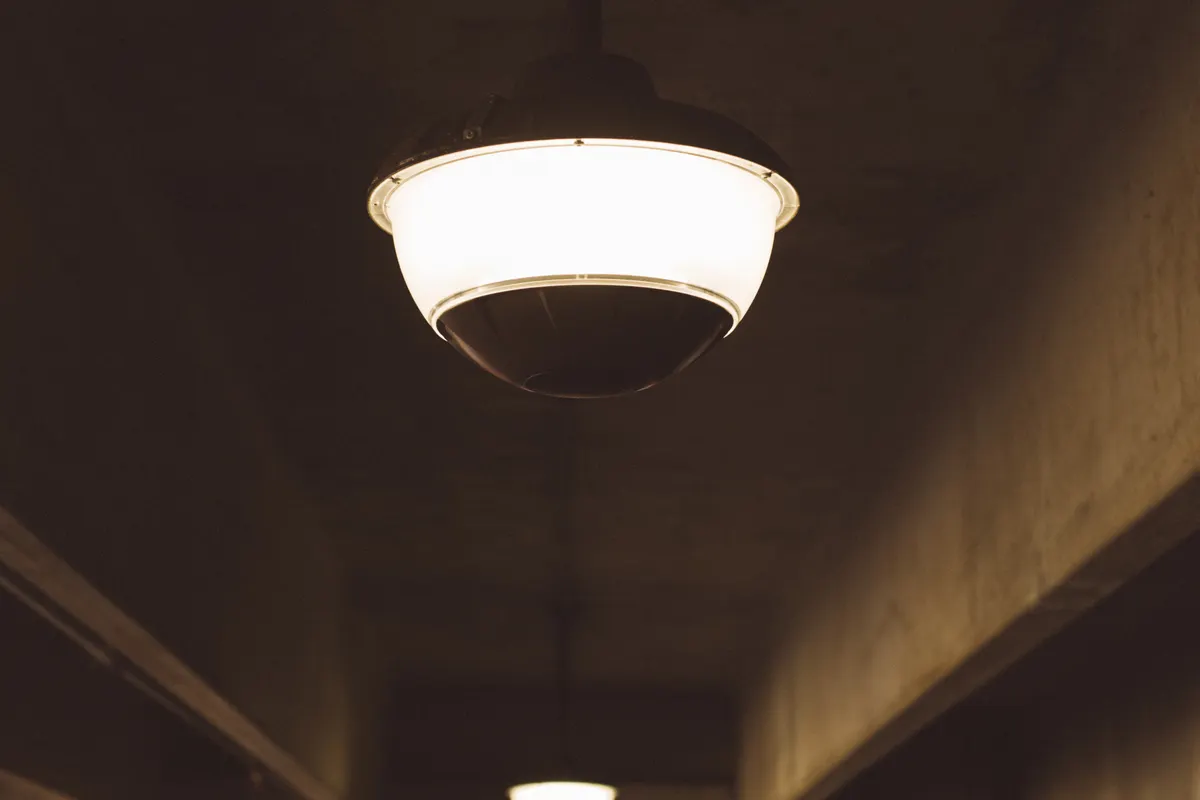
- Diffuser or lens where glare and exposed LEDs are distracting
- Replaceable driver or credible warranty for hard-to-reach installations
Treat linkability as an electrical limit
Linkable fixtures make rows tidy, but every product has a documented maximum number or total load. Follow the supplied instructions and do not assume connectors from similar-looking systems are compatible.
Check cord length, plug location, switch behavior after a power interruption, and whether the fixture works with any planned controls. A neat product photo does not show how the last cord reaches your actual outlet.
Compare the full installed cost
Include mounting hardware, extension or linking cables approved for the system, controls, and the number of fixtures needed for even coverage. A lower-cost fixture can become expensive if it requires twice as many units or cannot be repaired under a usable warranty.
Keep the receipt and model information with a photo of the installed layout. Matching a failed unit later is easier when the specifications are documented.
Primary references
These sources support safety, disposal, or specification details used in this guide.