Ceiling-layout sketch
Build rows around the working zones
Light both sides of the vehicle instead of only its roof.
Use repeated rows to reduce body and vehicle shadows.
Move useful output beyond any ceiling area blocked by the raised door.
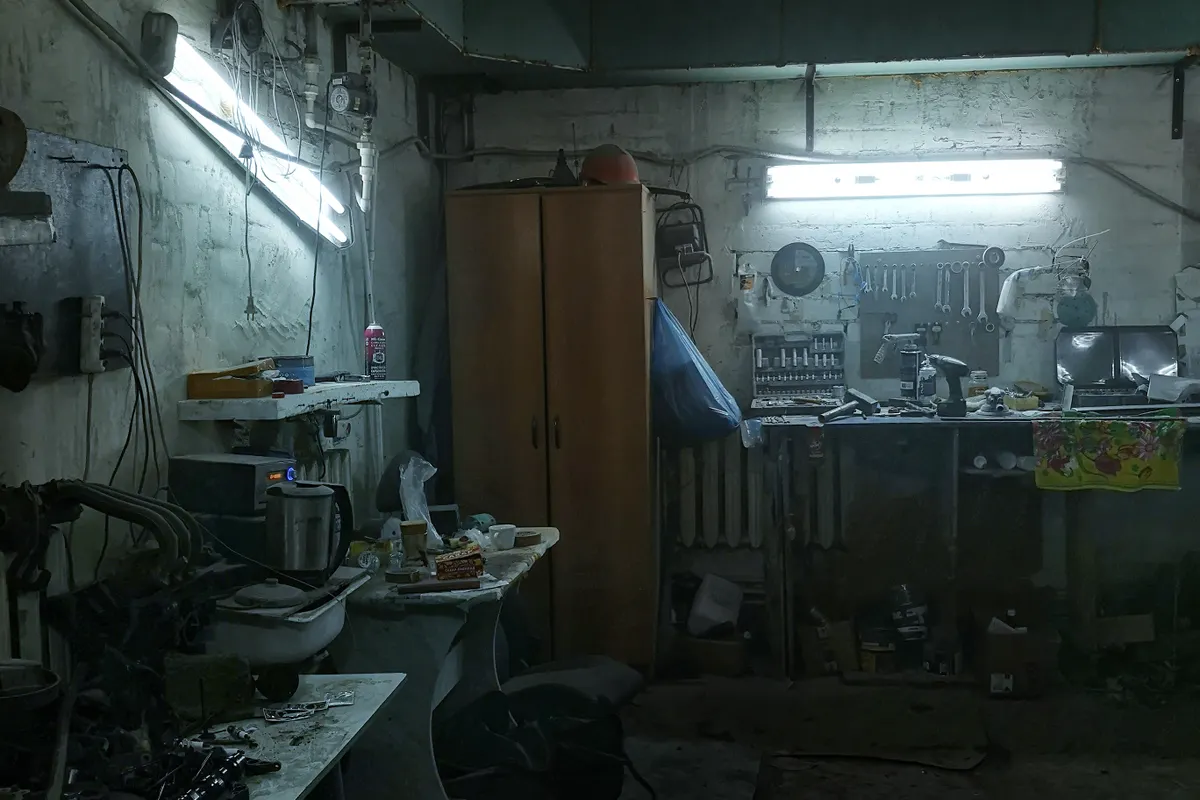
Place task light above or slightly forward of the working edge.
Field note: Fixture optics and mounting height control final spacing. Prototype one row at night before permanent installation.
Draw the obstructions first
Plot door tracks, opener rails, the fully open door, attic access, beams, ducts, and tall cabinets. A ceiling plan that ignores these elements often puts fixtures where their output is blocked or where maintenance becomes difficult.
Add vehicle rooflines and the workbench edge. The plan should describe where light needs to arrive, not only where a fixture can attach.
Use rows instead of a center point
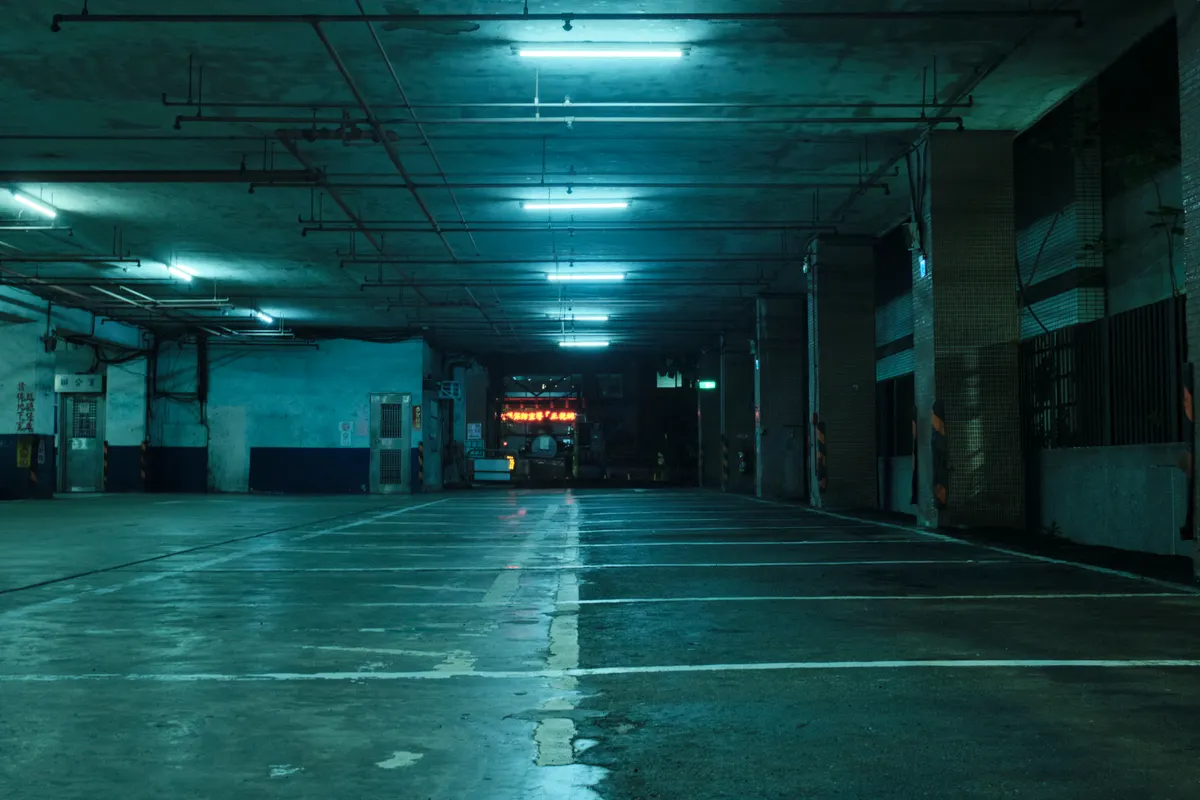
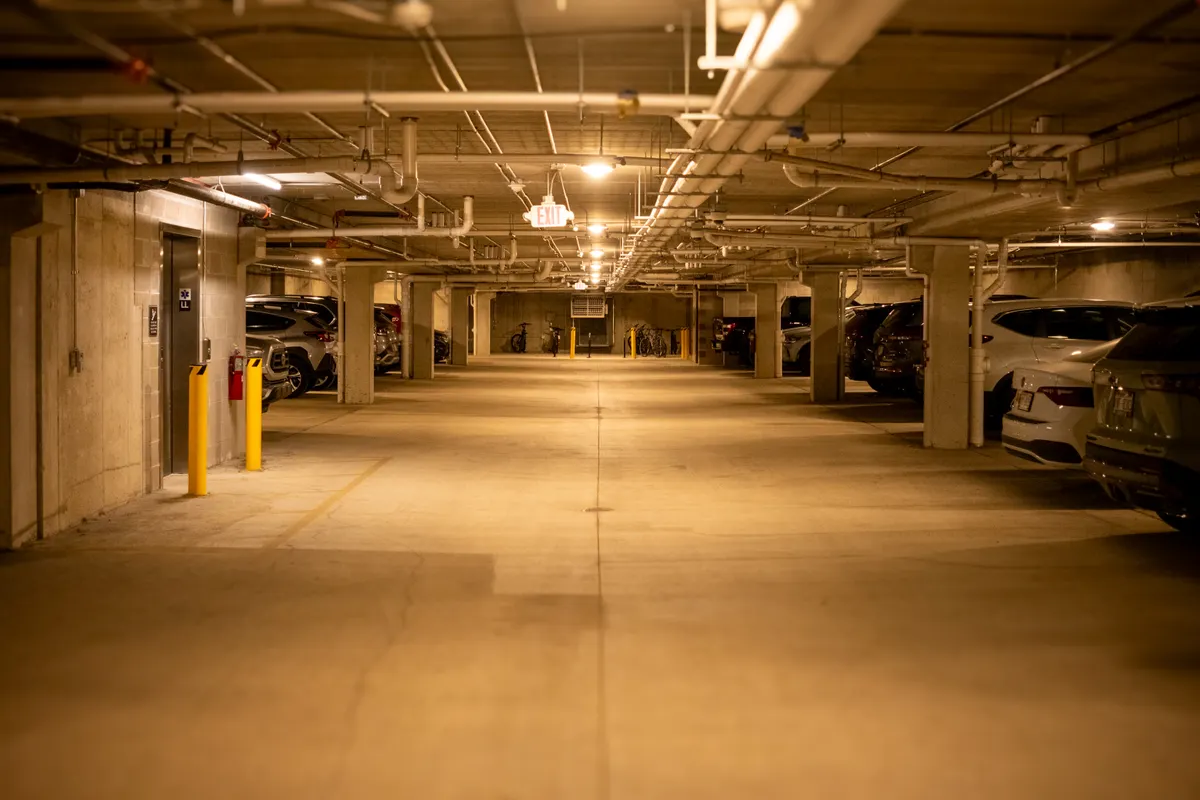
For a single bay, two lengthwise rows can illuminate both sides of the vehicle better than one central strip. For two bays, rows aligned with the side and center working zones help reduce the shadow created by parked vehicles.
Fixture spacing depends on mounting height and distribution, so use manufacturer guidance when available. Equal-looking spacing on the ceiling does not guarantee even light on the floor.
Cover the ends of the room
Darkness often collects at the garage-door end and the front storage wall. Include those zones in the plan instead of concentrating all output in the center. The front wall may need light that reaches open shelving without shining directly into someone’s eyes.
If the open garage door blocks ceiling fixtures, place usable light farther forward or add a wall-oriented layer that remains effective with the door raised.
Use a repeatable placement sequence
Start with the parked-vehicle outlines and mark the side zones where you walk, unload, or reach storage. Place the main rows over those usable zones rather than defaulting to the center of each parking bay.
Next, check the front storage wall, the garage-door end, and any workbench as separate destinations. Finish by viewing the plan with the door raised and vehicles in place; a fixture that looks balanced on an empty ceiling may still leave a working edge in shadow.
- Mark vehicles and walking paths
- Place ambient rows over usable side and center zones
- Add coverage for storage walls and the door end
- Give the workbench its own task-light decision
- Test the complete arrangement in its normal occupied state
Prototype at night
Use a temporary plug-in light or safely supported sample fixture to test one row. Park the vehicles, raise the door, open cabinet doors, and stand at the bench. Look for harsh reflections, deep shelf shadows, and dark walking paths.
Adjust the plan before permanent work. For hardwired changes or new circuits, follow applicable requirements and use a qualified professional when appropriate.
Primary references
These sources support safety, disposal, or specification details used in this guide.