Starter-tool table
Five tools, five different measurement jobs
| Tool | Primary job | Starter cue |
|---|---|---|
| 25 ft tape | Room and object dimensions | Readable blade and dependable lock |
| 9 in torpedo level | Brackets and tight spaces | Confirm by reversing the tool |
| 24 in level | Shelves and cabinets | Longer bridge across the surface |
| Combination square | 90-degree lines and repeat offsets | Head locks firmly; rule stays readable |
| Laser | Repeated room and long-run layout | Buy when layout volume justifies it |
Field note: Keep a pencil, fine marker, and painter's tape nearby; a precise tool cannot recover an ambiguous mark.
The tape measure is a system
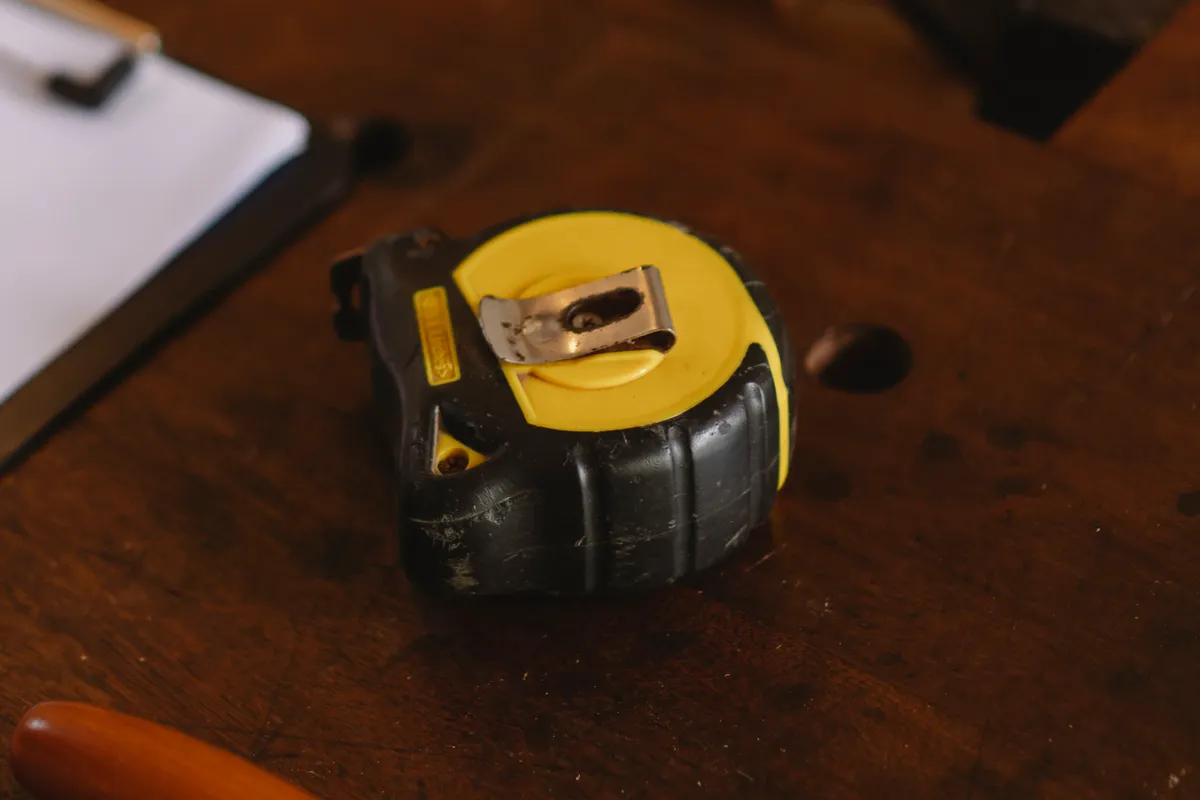
Choose a tape with a blade you can read quickly, a lock you trust, and a case that feels controlled. Learn the hook movement, case dimension, and blade markings before using it for finish work.
For room layouts, measure twice from consistent reference points and record units immediately. A phone photo of the tape is useful evidence but should not replace a written dimension tied to a wall or object.
Use two levels, not one oversized compromise
A compact torpedo level fits appliances, brackets, and tight areas. A 24-inch level bridges more surface and makes shelf and cabinet work easier. Check both tools against a known orientation by reversing them and comparing the reading.
A combination square improves repeatability
A combination square helps mark ninety-degree lines, repeat offsets, check shallow depths, and transfer measurements. Confirm the head locks firmly and the rule markings remain readable under garage lighting.
Add a mechanical pencil, fine marker, and painter’s tape. Different surfaces need different marks, and a precise measuring tool cannot recover a thick, ambiguous line.
Buy a laser for layout volume
A laser measure or line laser earns its place when you repeatedly map rooms, align long storage runs, or work alone across distances. It does not replace checking the actual mounting surface or verifying measurements before cutting.
- Check indoor visibility and useful range
- Confirm the reference edge used for each measurement
- Use a stable mount for line work
- Keep a manual tape and level for confirmation
Make a measurement record that another person can repeat
Name both endpoints before recording a number: finished wall to the nearest parked-car surface, clear shelf opening between posts, or lid edge to lid edge. Add units and whether the dimension is inside, outside, or a projection. 'Shelf: 18' is ambiguous; 'assembled shelf front edge to wall: 18 inches' is a usable note.
STANLEY explains that the movement in its Tru-Zero hook compensates for hook thickness. Do not assume an intentionally moving hook is defective or glue it rigid. Follow the actual tape's instructions and inspect damage before trusting a critical dimension.
In a worked planning example, an opening measured as 47-3/4 inches and a candidate assembly measuring 48 inches do not match; rounding the opening to four feet would hide the conflict. Record the unrounded measurement first and check all corners or obstructions that might change the fit. Precision in a note cannot rescue measurements taken between the wrong endpoints.
Repeat the measurement from the same references and investigate disagreement before buying or cutting. For a shared project, have the second person identify the endpoints from your written description. Keep a photo of the layout with labels as supporting context, not as a substitute for the dimensions.
Primary references
These sources support safety, disposal, or specification details used in this guide.