Original bit-selection decision matrix
Three matches before a bit purchase
| Question | Record | Verify | Stop if |
|---|---|---|---|
| Drive family | Full named drive type | Hardware maker's documentation | Only the general shape is known |
| Tip size | Exact designation with family | Specified size and non-powered fit | The tip rocks or cannot seat as intended |
| Tool connection | Handle/tool and holder model | Approved bit format and intended use | Compatibility is assumed from appearance |
| Access | Assembled tool and nearby obstructions | Alignment and assembly sequence | A panel prevents a straight approach |
Field note: This worksheet does not specify torque, approve electrical work, or diagnose a damaged fastener. Follow the instructions for the actual hardware and tool.
Start with the hardware, not the biggest assortment
Furniture hardware, cabinet fittings, and the screws supplied with a garage organizer can appear on the same weekend's task list. Do not assume they share one bit because the heads look similar from standing height. Bring the assembly instructions, packaging, or a clearly labeled spare fastener to the bench before choosing a driver.
Create a job card with four fields: item being assembled, drive designation, required size, and the instruction page where you found it. If instructions are missing, identify the hardware through the item manufacturer before treating a guess as a specification. Keep a close-up photograph with the card so you can ask a precise question without dismantling the item again.
This guide covers selection for ordinary non-electrical household assembly. It is not a procedure for electrical work, vehicle repairs, structural fasteners, garage-door mechanisms, or extracting damaged screws. Follow the equipment instructions and get qualified help for work outside your experience.
Read drive family and size as a pair
CCOHS advises matching both screwdriver type and size, and warns that Phillips can slip in a Pozidriv head. Do not treat every cross-shaped recess as interchangeable. Its guidance also rejects substituting a straight blade for drive patterns it was not designed to turn.
Compare the bit marking with the fastener documentation. Record the complete designation instead of writing only 'number two' on a shopping list: a number without the drive family loses information needed to order the replacement.
The comparison below is a decision aid, not a photograph-based identification chart or universal size conversion. If the recess is obscured or damaged, do not force progressively larger bits into it to identify it. Resolve the fastener specification first. A catalog helps locate a known designation; it cannot identify an unknown screw for you.
Check the other end of the bit too
The working tip and the handle connection are separate purchasing decisions. Klein's catalog distinguishes replacement blades, electronics bits, and impact-rated sets. These describe different products, not blanket interchangeability across every holder.
Write your handle or powered-tool model beside the required tip. Check its approved bit format, retention method, and holder requirements in the manufacturer documentation. For powered use, confirm the complete bit-and-holder combination is approved for the tool and operation; a matching-looking tip is not enough.
Sketch the screw's position relative to surrounding panels or brackets. Can the chosen handle approach straight on and turn without striking anything? Compare the assembled tool, not only loose bit length. Before buying an extension, determine which part of the actual setup is obstructed.
Check fit before applying driving force
Follow the tool instructions for a non-powered fit check. With the correct documented tip selected, confirm it seats as intended and the tool can remain aligned. Unexpected rocking, incomplete seating, or visible tip damage is a reason to investigate, not evidence that you need a stronger driver.
CCOHS recommends securing small or movable stock, keeping the driver aligned, using appropriate eye protection, and rejecting damaged screwdrivers. Do not drive into a loose part held in your palm. A fit check does not establish tightening torque: follow the hardware maker's specification where provided.
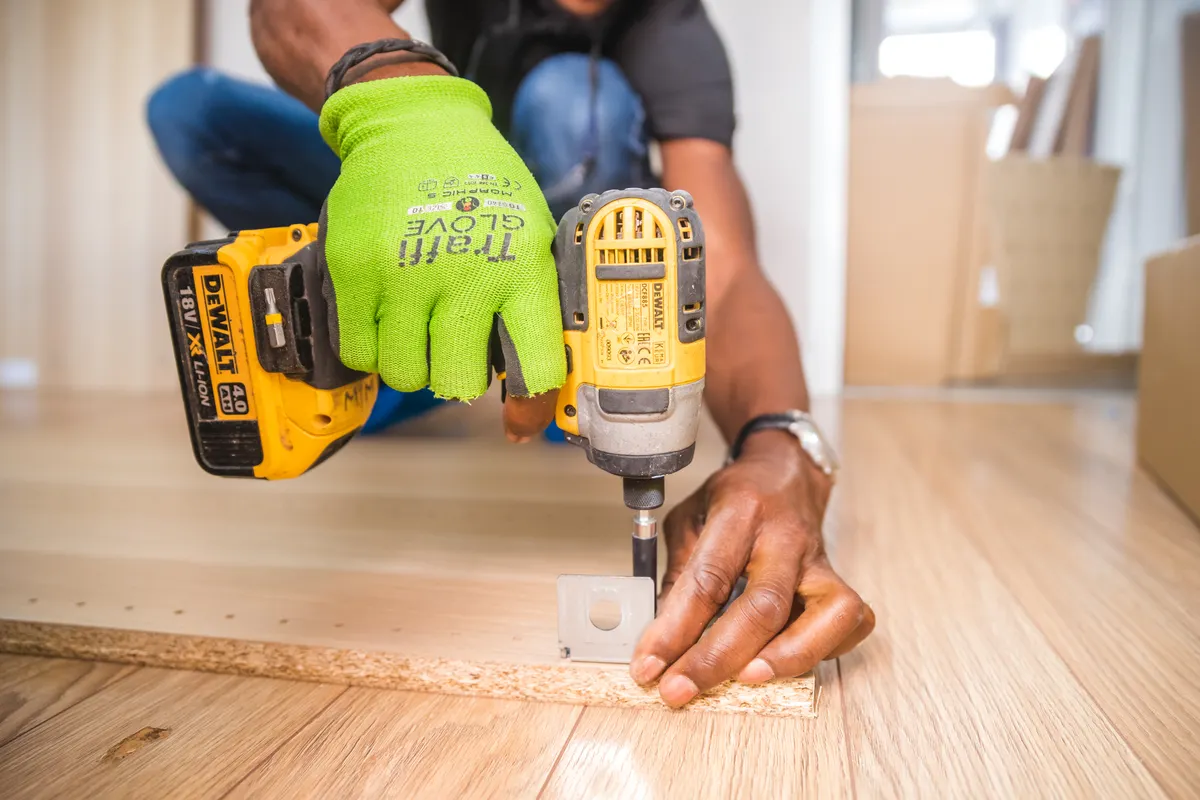
For flat-pack assembly, lay out the labeled hardware bags, identify the driver required for each step, and check access before attaching neighboring panels. If a later panel hides a screw, note the sequence now. This is a planning workflow, not a claim that we tested a particular assembly.
Build the replacement list from real jobs
After a successful job, record the designation that matched the documented hardware. Retain spare supplied fasteners in their labeled bag with the item name. Store bits in labeled positions so an empty space tells you which replacement is missing instead of prompting another mixed-set purchase.
Compare a candidate set against your list. Count required distinct tips, not the total pieces on the box. Repeated bits may be useful when you know which one you use frequently, but they are not additional drive coverage. Postpone specialty tips until an identified project calls for them.
A hypothetical shopping note might say: replace the worn documented furniture tip, retain the compatible handle, and add a labeled storage position. Another household's list may differ. There is no universal starter count, and this guide does not rank brands or claim hands-on testing. The shopping search is optional; judge listings against the manufacturer specification.
- Record the drive family and exact size from reliable hardware information.
- Confirm bit and holder compatibility with the intended tool.
- Check access with the complete assembled tool.
- Inspect the head and tip and complete the non-powered fit check.
- Locate the assembly sequence and any tightening specification.
- Label the job card so the same replacement can be identified later.
Primary references
These sources support safety, disposal, or specification details used in this guide.