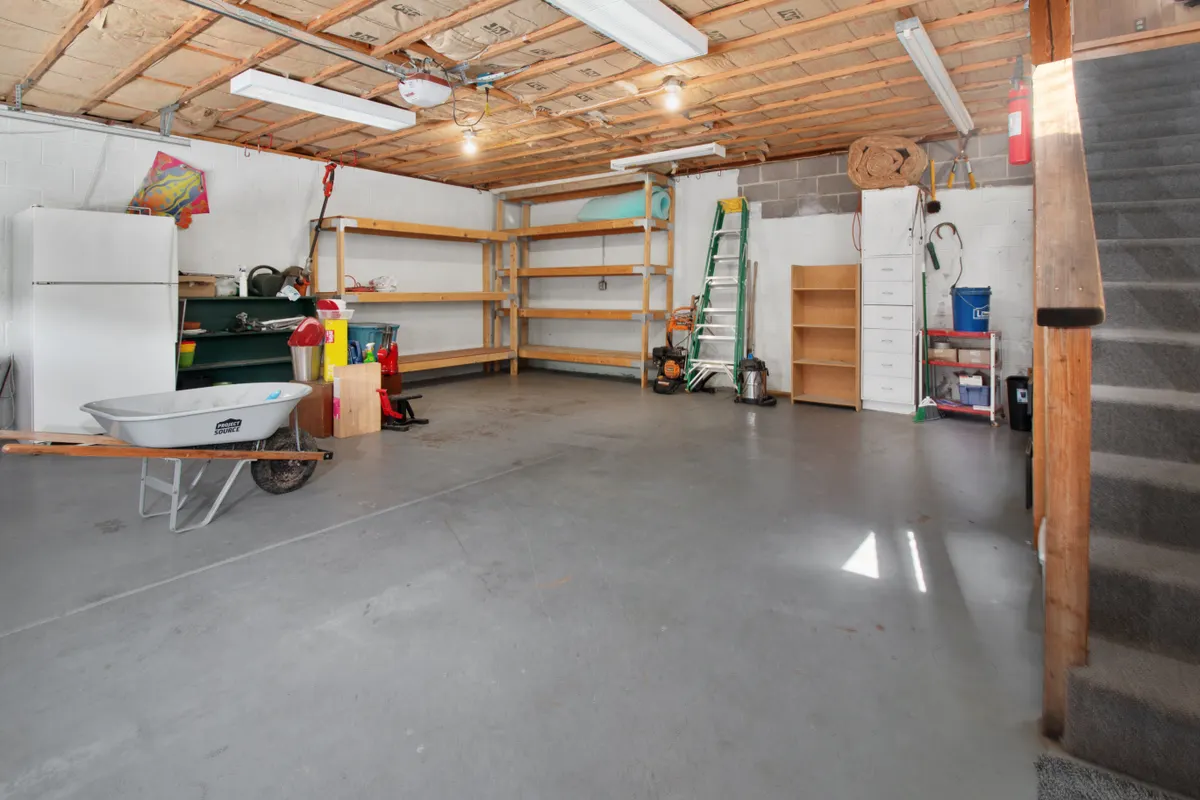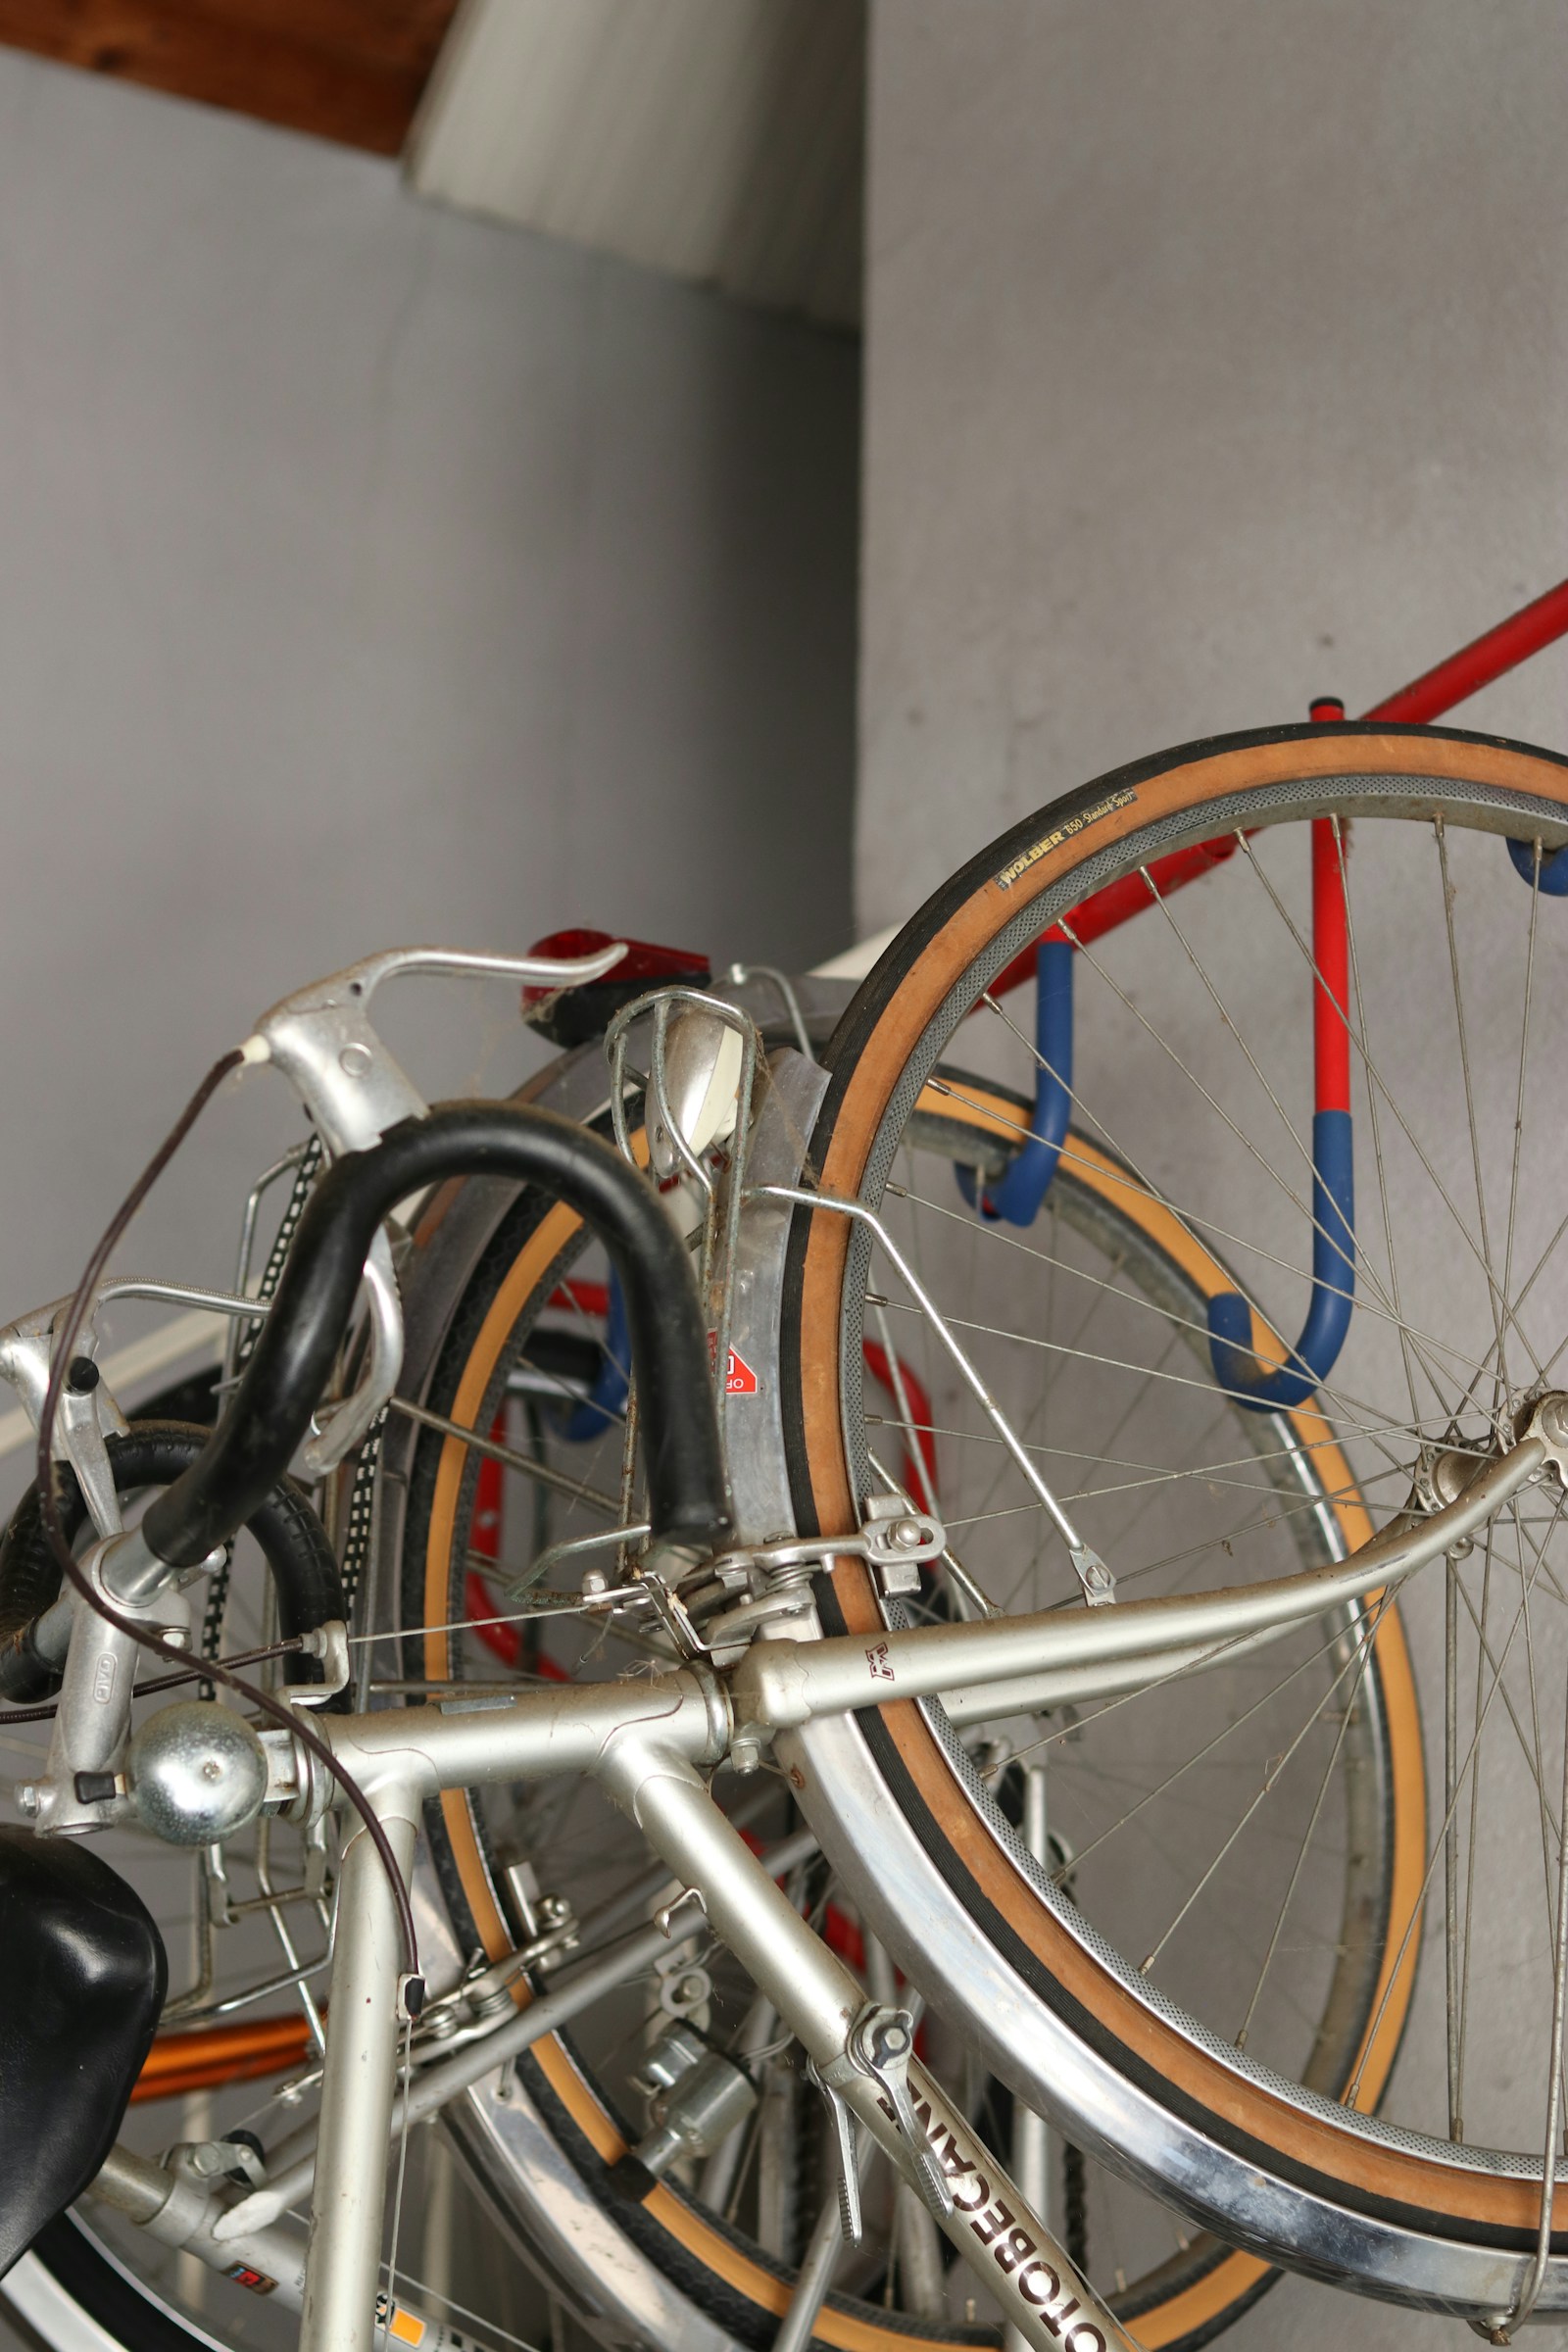
Original parked-car fit matrix
Compare the parked footprint with the retrieval footprint
| Fit question | Floor stand | Pivoting vertical rack | Horizontal wall cradle | Ceiling hoist |
|---|---|---|---|---|
| Space while stored | Complete bike length, width, and stand base | Loaded projection at the final pivot angle | Bike length along the wall plus bars and pedals | Complete suspended bike and hardware envelope |
| Space while retrieving | Roll-in path, steering sweep, and a place to stand | Full pivot and loading motion with adjacent bikes | Lift-off space and a controlled lowering path | Clear lowering zone and the documented control position |
| Main fit checks | Tire size, bike weight, base stability | Tires, wheels, fenders, bike weight, and wall support | Approved frame contact points, weight, and wall support | Bike attachment, structure, load, lock, and door travel |
| Daily-use tradeoff | No lift, but uses floor area | May save floor area, but needs usable pivot space | Visible and accessible only if the lift suits the rider | May require moving the car before each retrieval |
| Reject the location if | A wheel, base, or handlebar crosses the car path | The bike strikes the car or neighbors while pivoting | The rider cannot control the lift or frame fit is uncertain | The door, car, or a person occupies the lowering zone |
Field note: Planning comparison, not a load rating or installation approval. Use the exact manufacturers' instructions. No single clearance or rack spacing fits every bicycle, car, and household.
Start with the trip out of the garage
A bicycle can fit beside a parked car and still be impossible to retrieve. The front wheel has to turn, the pedals sweep sideways, and a person needs somewhere to stand. A wall rack adds its own loading motion. Decide first whether the bike must come out while every car remains parked, or whether moving a car is acceptable for occasional rides. Those are different layouts, not merely different rack prices.
For daily riding, plan a continuous route from the bike to the garage opening. For several riders, test each bicycle independently: a tidy row that requires unloading three bikes to reach the fourth will not stay tidy. This guide provides a planning method and manufacturer examples, not a hands-on rack review or approval of a particular wall installation.
Record the bike, not an average bicycle size
Measure each bike with the accessories that remain attached during storage. Record overall tire-to-tire length, widest handlebar span, pedal projection, saddle height, and any basket, rear rack, fender, child seat, or bag. A small-wheel cargo bike can need more room than a large-wheel road bike. Wheel diameter alone does not tell you the storage footprint.
Then record the manufacturer's bike weight and the rack's permitted tire widths, wheel diameters, weight, and contact points. Verify the actual stored configuration rather than assuming an e-bike, carbon frame, deep rim, or full fender fits every hook. If compatibility is unclear, ask the bike and rack manufacturers before purchase. Removing an accessory only helps if doing so is an approved, practical part of every return trip.
- One record per bike: rider, frequency, weight, full length, and widest fixed or moving part
- One record per candidate rack: assembled dimensions, allowed mounting surface, load, and wheel or frame compatibility
- Three positions to check: stored, being loaded or unloaded, and rolling through the exit route
- One household constraint: the least comfortable rider's ability to control the bike, not the strongest person's demonstration
Map three envelopes before choosing hardware
Park the car normally, switch it off, and use removable tape to mark the space you actually need for vehicle doors, the trunk or hatch, passengers, and the route into the house. Include the mirror and any door edge near the bike. This is the protected vehicle envelope; it is not leftover space available for handlebars.
Next, mark the proposed stored-bike envelope, including the stand or rack, tires, bars, and pedals. Finally, mark the retrieval envelope: the area needed for a person to roll, tilt, lift, or pivot the bicycle as the selected rack requires. Use the real bike on the floor for a non-lifting trial and the rack's dimension drawing for positions you cannot safely simulate. Never improvise an unsecured overhead mock-up.
Keep these three outlines distinct. A folded rack's empty dimensions are not the bike's stored dimensions. A bike's narrow final position is not its maximum projection while moving. Reject a location when any required movement crosses the car, a door track, a step, an electrical panel, or equipment service space. Applicable service and exit requirements still take precedence over the sketch.
Use a clearance budget, then verify it in person
For an initial side-wall check, measure the narrowest usable distance from the finished wall to the protected car envelope. Subtract the complete stored-bike projection at that point. The remainder is only a planning gap; it is not automatically a usable walking route. Test it with the person carrying a bag, turning the handlebars, or helping a child who will use it.
Worked example, using invented measurements: a wall-to-protected-envelope distance of 54 inches minus a 22-inch stored-bike projection leaves a 32-inch gap. If retrieving that bike increases its projection to 34 inches, the gap temporarily shrinks to 20 inches. That difference can defeat a layout even though the parked photograph looks spacious. These numbers illustrate subtraction only; they are not standard bicycle dimensions, recommended aisle widths, or code minimums.
For a floor stand, tape the union of the stand and bicycle footprints, not just the stand base. Check along the full length: a pedal can reach a door panel while a handlebar clears the mirror. For a wall rack, obtain the loaded dimension or installation drawing and allow for its attachment geometry. Do not infer loaded projection from a product's shipping dimensions.
Choose a floor stand when easy return matters most
A compatible floor stand keeps the bicycle at ground level and avoids drilling a load-bearing attachment into the wall. It is a useful candidate for frequent rides, households that cannot comfortably lift a bike, and locations where the wall construction is uncertain. Its tradeoff is the full bicycle length on the floor, plus the approach needed to enter and leave the stand.
As a model-specific example, Feedback Sports lists the RAKK 2.0 for bikes up to 75 lb and says it supports the bike at the tire. Its published fit range is 23 mm to 4.5 inches in tire width and 20 to 29 inches in diameter, with an additional 1.5-inch minimum tire-width condition for 20-inch wheels. The maker also specifies properly inflated tires. Those limits belong to that product, not to floor stands as a category; recheck the current instructions for your bike.
Place the stand where it stays outside vehicle wheel paths and where no one has to step over its base. Test the intended front- or rear-wheel loading direction. If a basket or wide handlebar swings toward the car, change the approach or the location rather than relying on the rider to hold the wheel perfectly straight every time.
A pivoting wall rack trades wall space for floor space
Wall storage can shorten the floor footprint, but a row packed tightly along the wall may leave less room to pivot bikes toward it. Steadyrack's placement guide distinguishes same-height, staggered, and full-pivot layouts. Its same-height example uses 600 mm spacing (about 24 inches) with handlebars up to 600 mm wide; avoiding overlap for fuller pivoting can require 1,200 mm (about 47 inches) or more. These are that manufacturer's configurations and assumptions, not universal hook spacing.
Before choosing the densest arrangement, compare it with a wider-spaced row. More occupied wall length can buy less intrusion beside the car. Staggering heights may reduce bar interference but can make the higher bicycle harder to retrieve. Check baskets, fenders, and pedals as well as handlebars, and test the outermost bike near the corner or doorway.
Installation is a separate pass/fail decision. Steadyrack's installation advice calls for a suitable load-supporting surface and expressly rules out attaching its racks to drywall or plasterboard alone; the supplied masonry anchors are not drywall anchors. Use the exact rack manual for mounting height, hardware, and wall construction. An electronic stud indication does not certify framing strength or locate every hidden pipe and cable. If the structure or attachment is uncertain, stop and use a qualified installer or a compatible freestanding option.
Keep horizontal and ceiling storage in the right role
A horizontal wall cradle may suit a bike that can be lifted comfortably onto manufacturer-approved frame contact points. It consumes much of the bike's length along the wall, and the handlebars can still project into the bay. Check the exact frame fit and height before treating a horizontal rack as a low-profile choice.
A ceiling hoist is an occasional-use candidate only when the documented structure, load rating, attachments, locking method, garage-door travel, and loading zone all work. If the car has to move for lowering the bike safely, record that limitation honestly. Never stand on a car, combine unrelated capacity claims, or suspend a bike from unverified hooks to save floor space. Heavy bikes deserve a handling plan before a high storage location; this article is not an e-bike charging or battery-storage guide.
Run the household return test before adding more racks
Once a compatible rack has been installed and checked according to its manual, have each intended user retrieve and return their bike with the car stationary in its normal spot. Keep hands on the bicycle as required by the rack instructions, and stop if the movement feels uncontrolled. Reproduce a real return: a helmet, a small bag, and another household member using the house doorway make a more useful test than an empty garage.
Choose the simplest arrangement that passes. Daily bikes should not depend on clearing a workbench or shuffling seasonal bins. Put pumps and repair supplies in a separate reachable location so loose accessories do not obstruct the wheel cradle. Inspect the rack and bicycle support points at the intervals the manufacturer specifies and whenever something moves, loosens, is struck, or is changed. Recheck the plan after replacing a car, fitting wider bars, or adding a child's larger bicycle.
- Car doors and the house route work without touching a bicycle or rack
- Every bike can be retrieved in the agreed parked-car configuration
- The intended rider can control the complete loading motion
- Bars, pedals, baskets, and adjacent bikes clear each other throughout movement
- Rack model, compatibility limits, installation instructions, and service contacts are saved
- The result needs no vehicle contact, improvised support, or blocked service access
Primary references
These sources support safety, disposal, or specification details used in this guide.