Bin-system worksheet
Standardize before you stack
01Measure
- Record clear shelf width, depth, and vertical spacing
- Measure handles and lid overhang, not only the product name
- Separate dense categories from light, bulky categories
02Standardize
- Choose two or three repeatable bin footprints
- Use smaller containers for hardware and other dense items
- Label the aisle-facing end and the lid
03Maintain
- Leave one intake bin or shelf section empty
- Review seasonal contents when bins come down
- Keep hazardous products in their original labeled containers
Field note: Do not let a large tote become a weight problem. The safest container is one a household member can retrieve under control.
Reduce the number of footprints
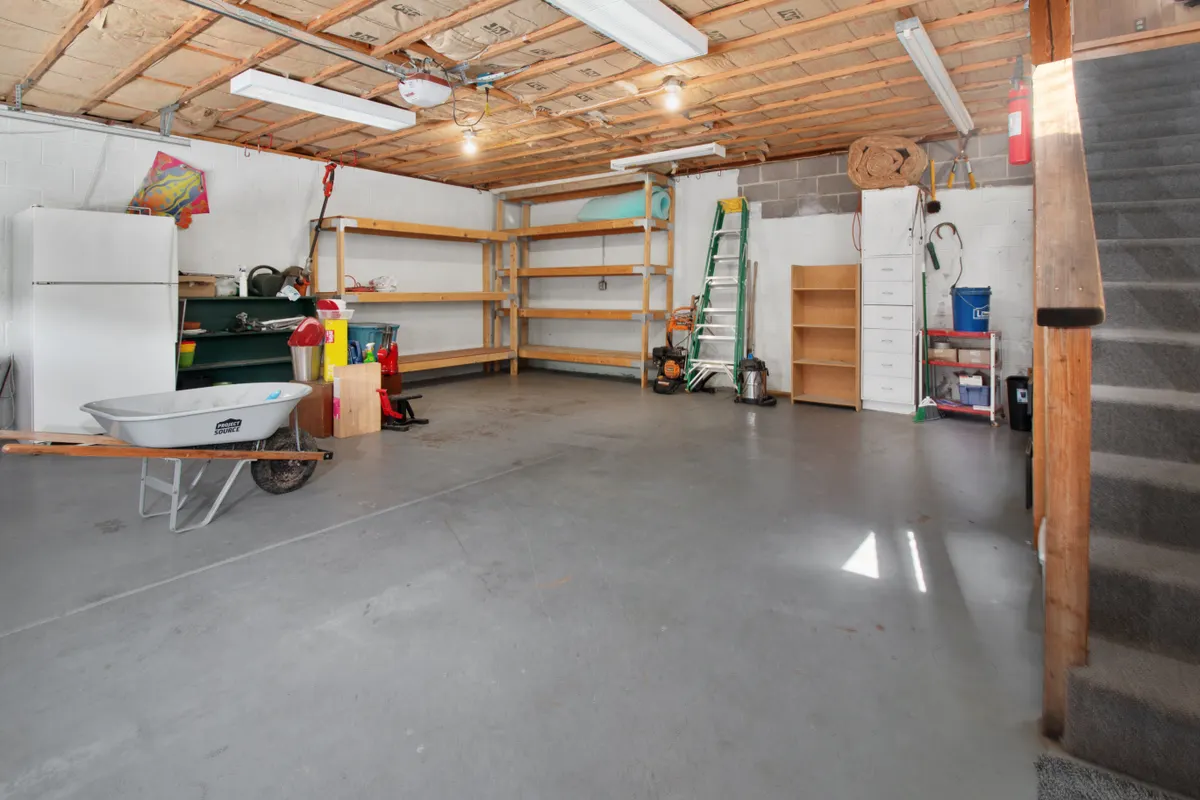
A random collection of containers wastes shelf width and creates unstable stacks. Measure the clear width, depth, and vertical spacing of your shelving, then choose a small family of bins that uses those dimensions efficiently.
Do not default to the largest tote. A huge container filled with books, hardware, or liquids quickly becomes unsafe and unpleasant to move. Small bins are often better for dense categories; large bins are best for light, bulky items.
Build categories that match retrieval
Label by the reason you would look for the contents: “car wash,” “sprinkler repair,” or “holiday lights,” rather than broad labels such as “garage.” Keep each category narrow enough that you can retrieve one item without emptying the container.
- Daily or monthly use: open bins or drawers at waist-to-eye level
- Seasonal use: lidded, labeled bins on upper shelves
- Dense hardware: small divided cases or shallow drawers
- Hazardous products: original containers and label-directed storage
Label for the way the bin is stored
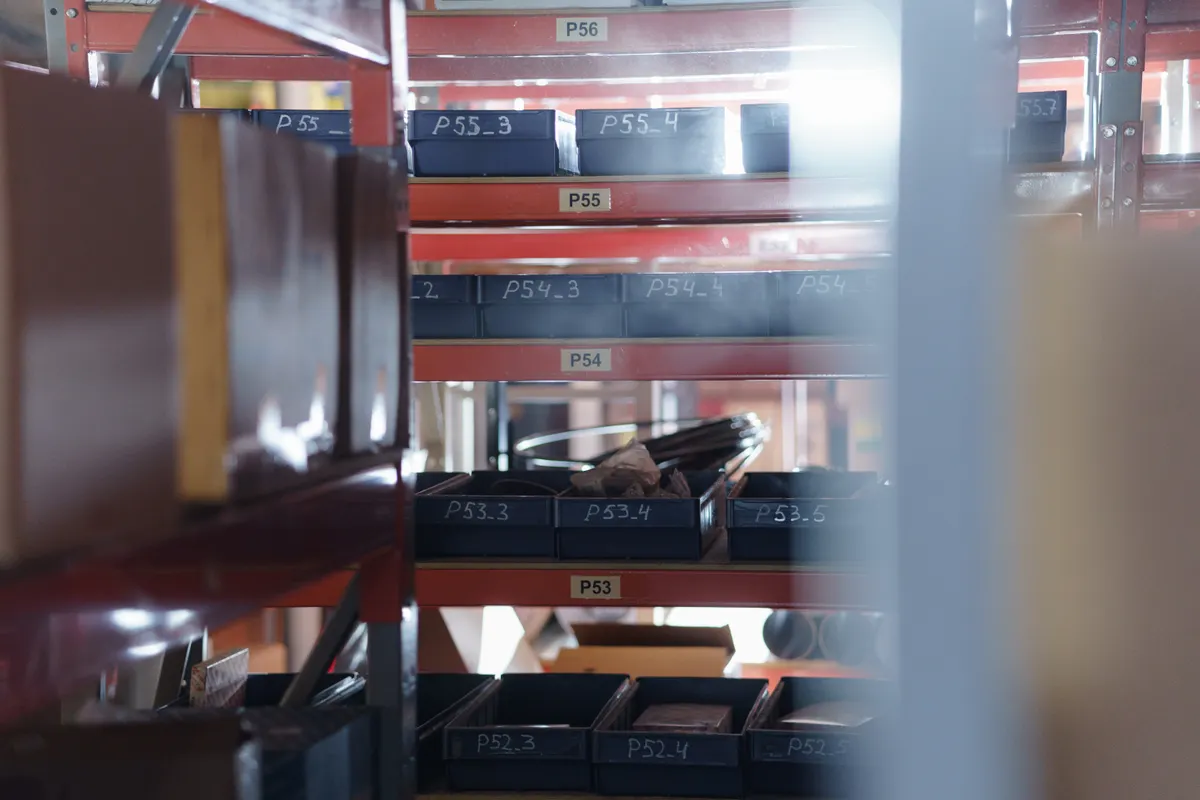
Put a large plain-language label on the end that faces the aisle. Add a second label on the lid for bins that may move. A simple number can connect the bin to a phone note, but the visible category should still make sense without opening an app.
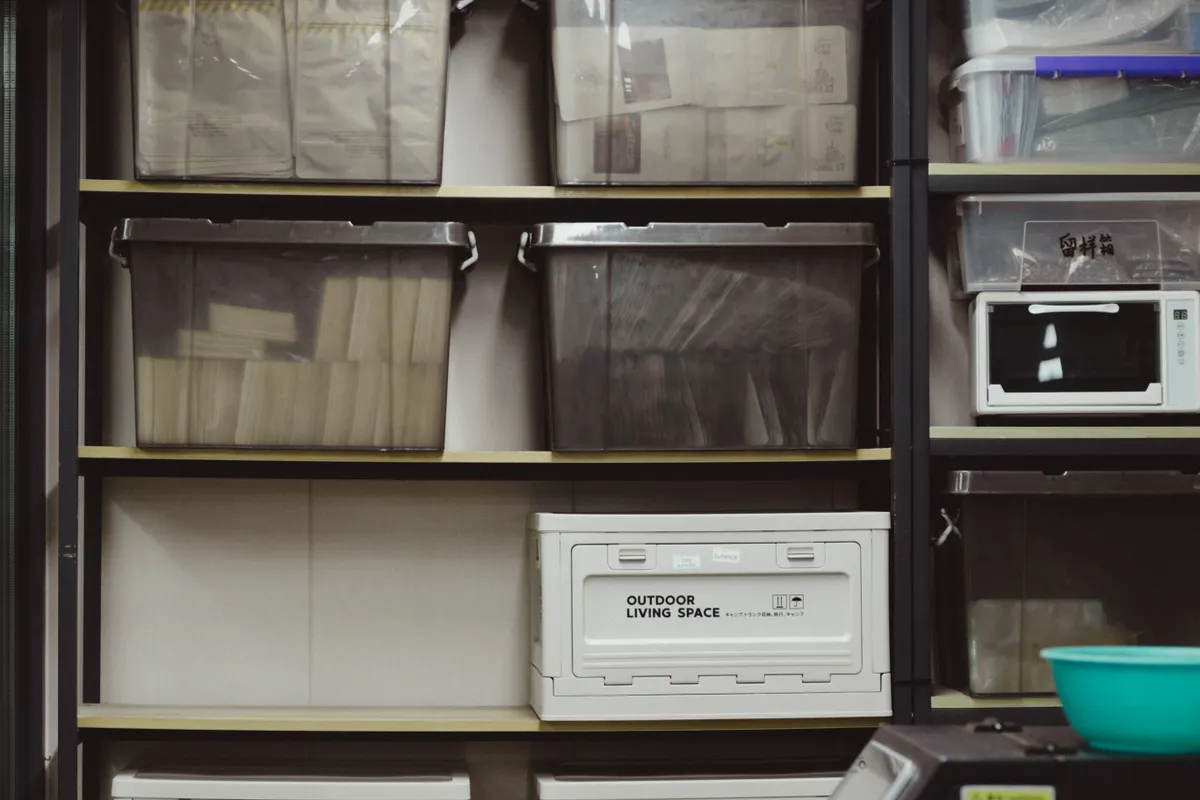
Transparent containers show contents but can become visual noise and may expose light-sensitive items. Opaque bins with consistent labels often make an open rack easier to scan.
Create one rule for incoming items
Leave one intentionally empty bin or shelf section for items waiting to be sorted. Empty it on a fixed schedule. Without a defined intake zone, new purchases and returns spread across the workbench and floor.
Review seasonal bins when they come down, not after they go back up. Remove broken decorations, expired supplies, and items you did not use. That single habit prevents the system from expanding every year.
Calculate usable bin capacity before buying a matching set
Measure shelf space between posts and braces, then measure the bin at its widest lid or handle. Nominal gallon volume does not tell you whether two bins fit side by side. As a hypothetical example, a 46-inch clear shelf can accommodate two 22-inch-wide bins in arithmetic, leaving only 2 inches total. That remainder must still accommodate handling and any unmeasured projections; it is not an installation recommendation.
Prototype with one container before ordering a roomful. Load a representative category, close the lid, place it in the intended position, and check that the label is readable and the bin can be retrieved comfortably. Do not fill a large container with dense objects merely because there is unused volume.
Use a label such as 'Yard irrigation / Shelf B2 / reviewed September' and a short category list inside the lid. Put the location on the shelf as well as the bin, so a missing container has an obvious home. For shared garages, test whether someone who did not pack it can find the requested item from the label alone.
Ordinary totes are not a chemical-storage solution. US Fire Administration guidance separates flammable-product storage and keeps combustibles away from appliances. Retain product labels and use appropriate storage or local disposal routes rather than hiding unknown leftovers in a matching box.
Primary references
These sources support safety, disposal, or specification details used in this guide.